Travel Day!

Hello!

While on vacation to San Fran, I kept thinking, this is the trip I will scrapbook. This will be the vacation I actually get in a book!
Why this one…because it’s the latest trip!

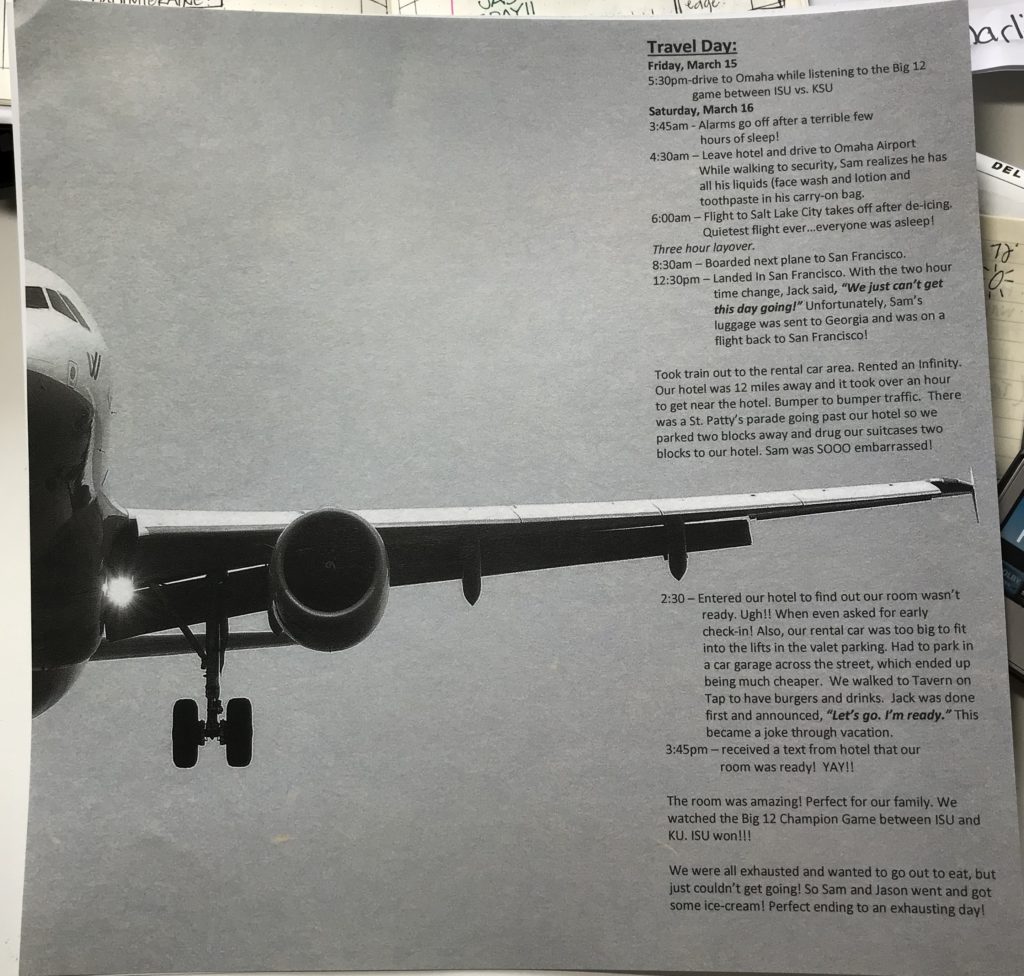
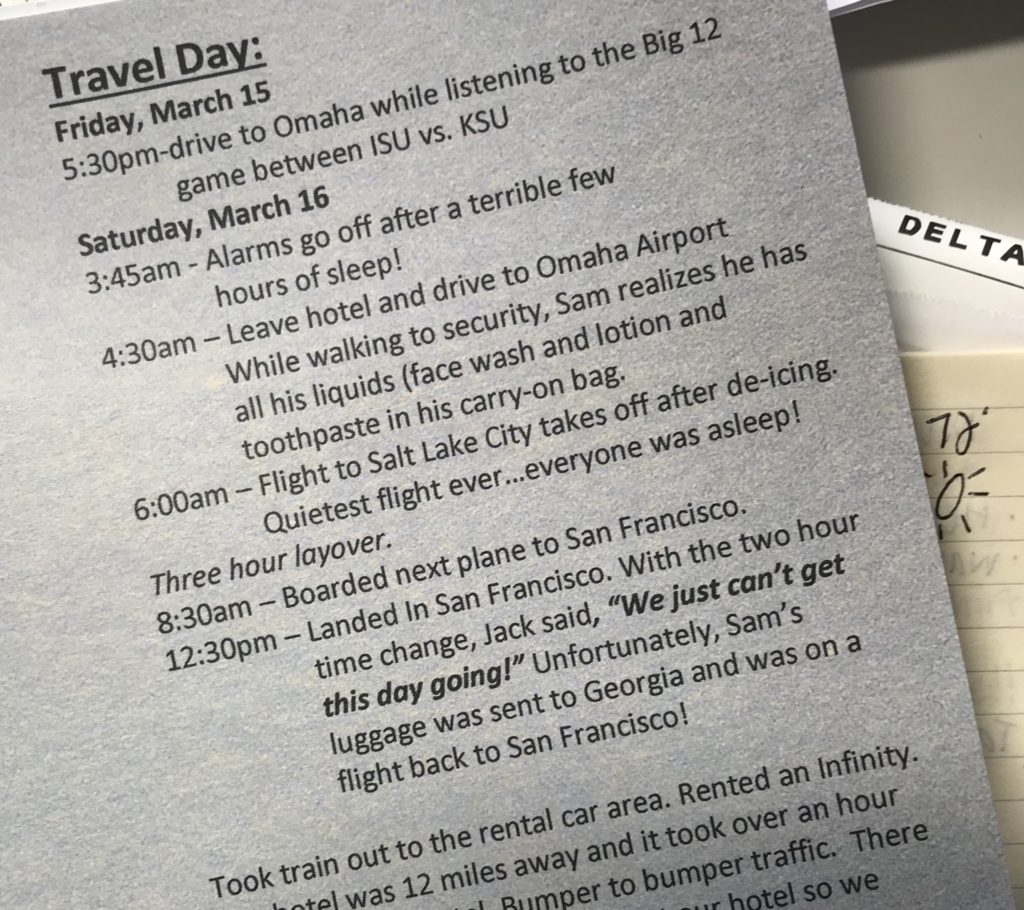
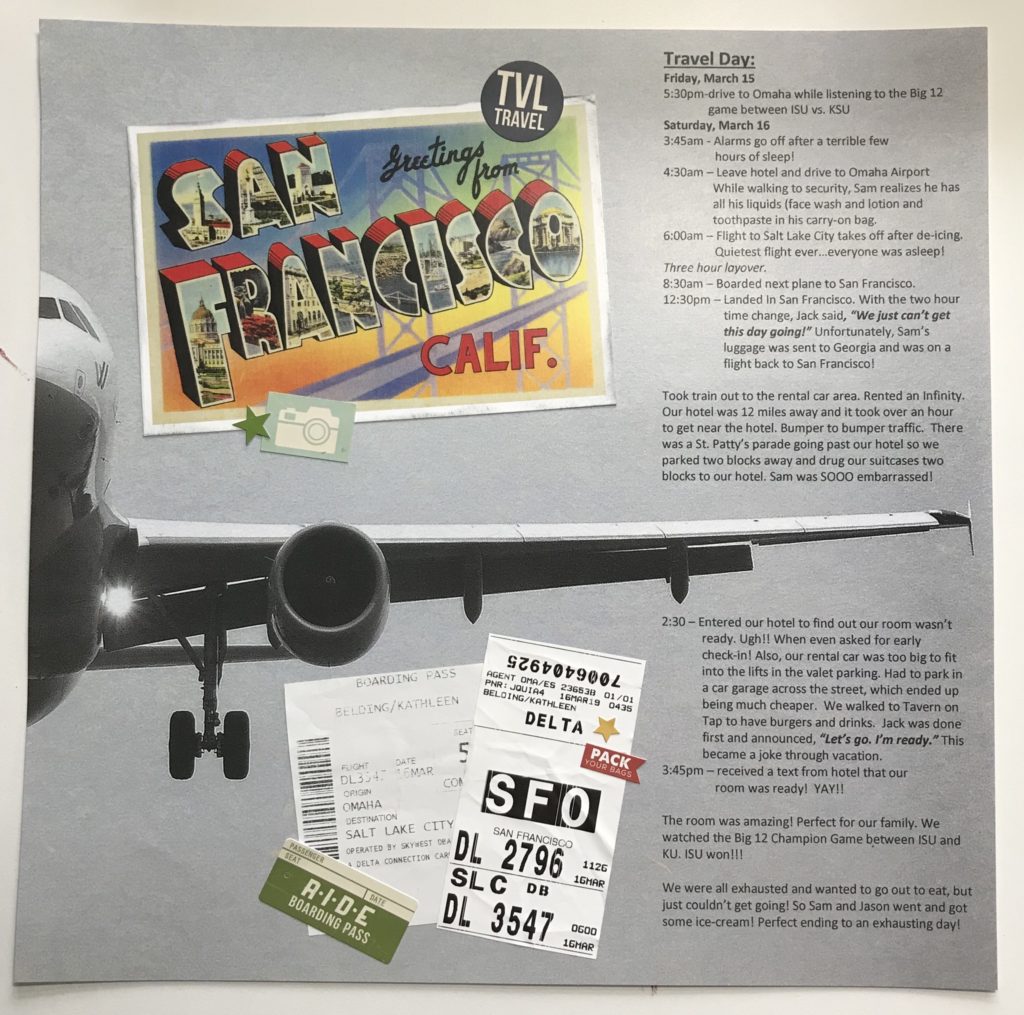
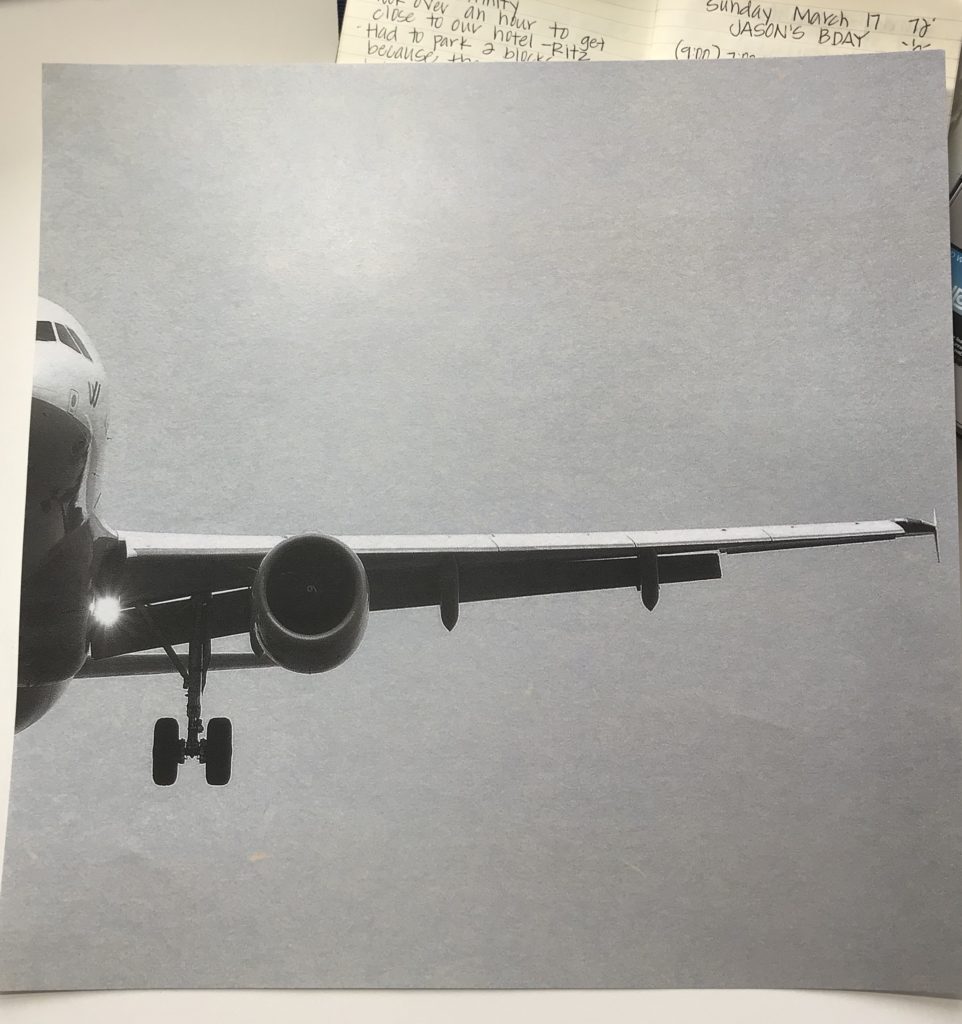
I am proud to say, I have Day 1: Travel day, completed (the title page)! I finally used this airplane paper (available at Memory Bound), which I have loved for sometime, but just couldn’t figure out exactly how I wanted to incorporate it into my scrapbook.

I was journaling on the computer about our first travel day and it dawned on my how to use the airplane paper!  I printed the journaling for travel day onto the paper (My computer will  print on 12×12 sheets.)

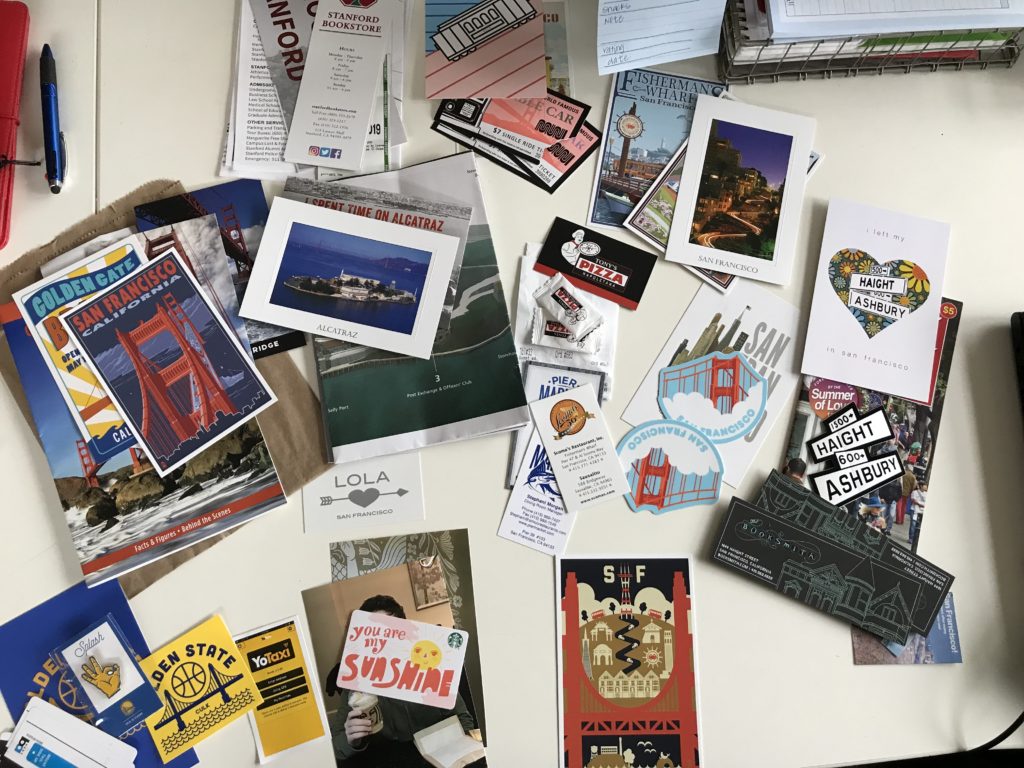
When on vacations, I buy lots of postcards, stickers and collect memorabilia. Postcards and stickers are cheap and perfect embellishment for adding to your scrapbooks. Postcards measure 4×6 and fit perfectly into pocket pages and make great titles, headers or dividers. You can see I had several choices for this page!

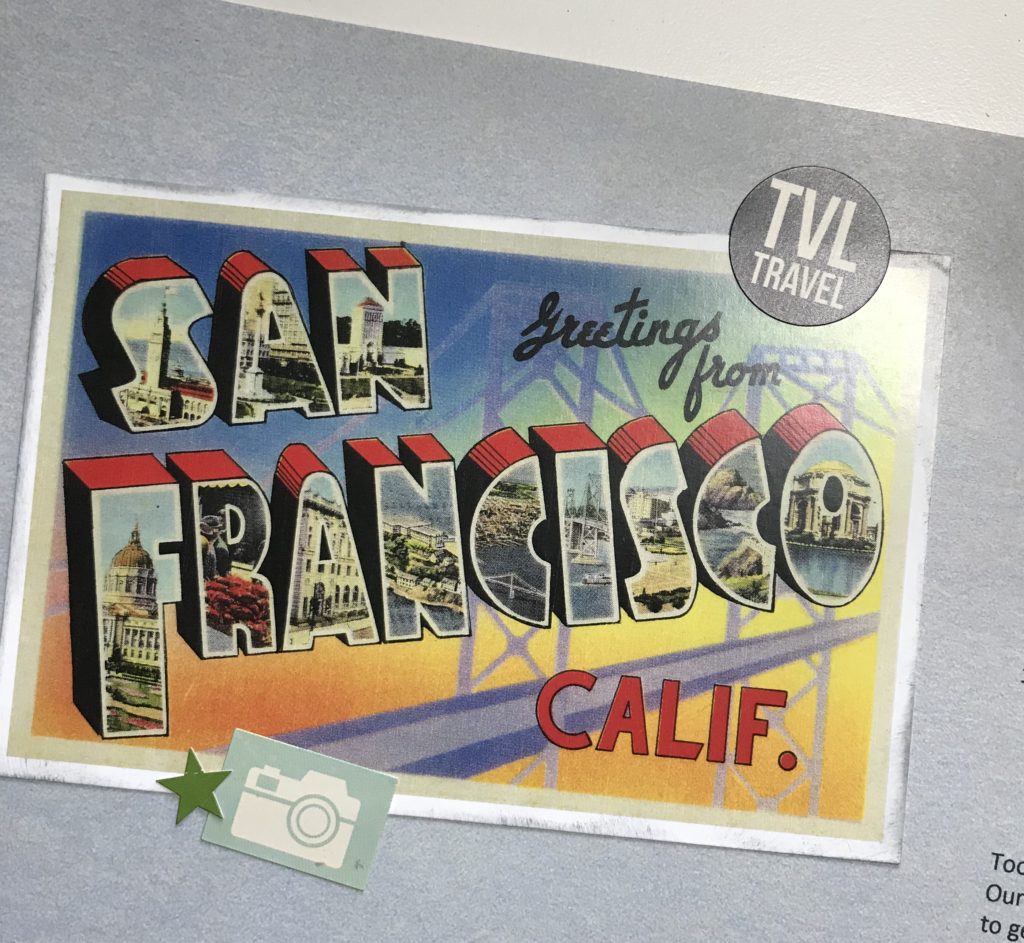
Since this will be my “opening” page or title page, I decided to use one of my favorite San Fran postcards.

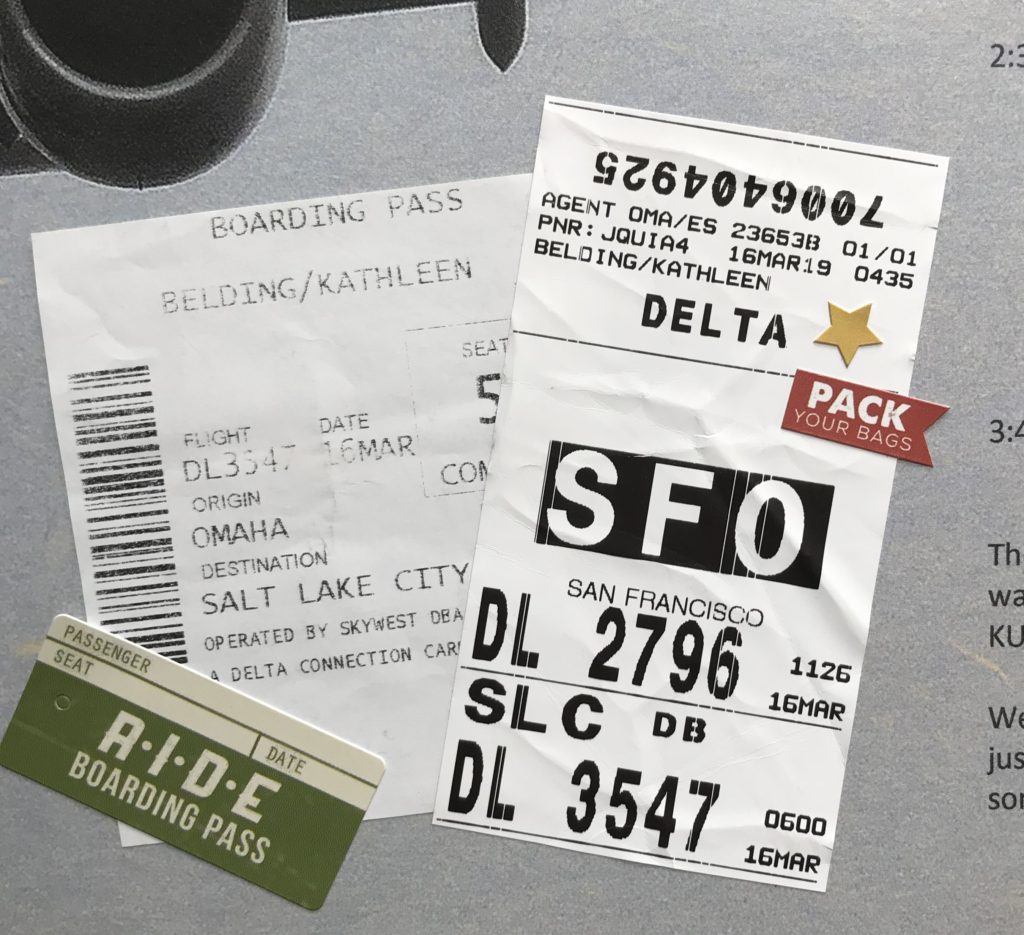
I added part of my boarding pass and the sticker the airport places on your suitcase handle. Love those…it includes your name,date, destination AND it’s already a sticker!!

It really didn’t take too long (for me) to finish the page and I was pleased with the final results.

Now for page 2!!

Happy December First!

Here We Go…

Sometimes, I feel like December 1st is a train I jump on and it takes off at break neck speed and doesn’t stop until Dec. 26 and I have no idea what even occurred during the month. I don’t slow down to enjoy moments because I am so focused on doing, going and planning…do this, do that.  I miss a lot because I try to do so many things and end up feeling like I enjoyed nothing.

This year is going to be different. I am slowing down. I am going to enjoy December and the holiday season. I am going to focus on my family and doing things to create memories with them.  I am going to get them more involved with the holiday activities: wrapping gifts, decorating the house, go see lights together, making cookies…but mostly that we will be doing things together.

And! I am going to attempt a December Daily. Nothing fancy like the ones on Pinterest or Instagram! This year I am going to do it for me and the memories. Not for show. Not going to worry about everything in it matching. Not going to worry about the flow of the album.   It’s going to have our memories in the album…no matter how small. It’s going to have pictures and papers and embellishment that make me happy.  It’s going to be about the four of us.

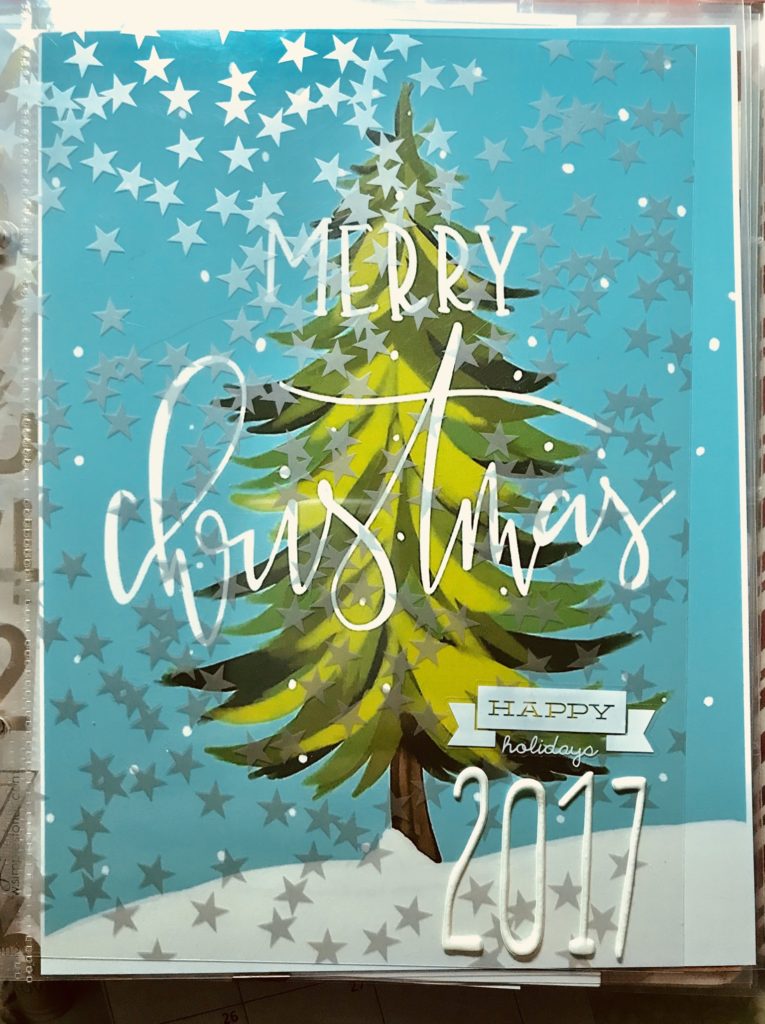
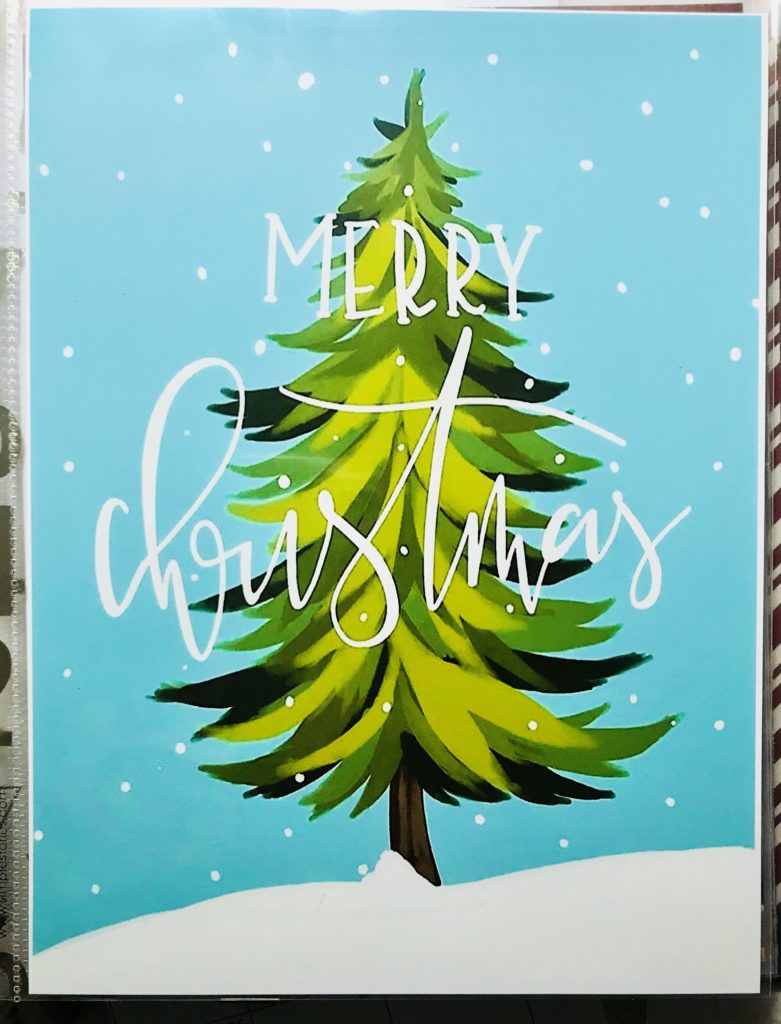
So…with that said, I found a great little picture on Instagram (which I later found out was done by a girl that I know!) I love the picture, so it is my opening page of my journal. Nothing fancy, I like it and it makes me happy!


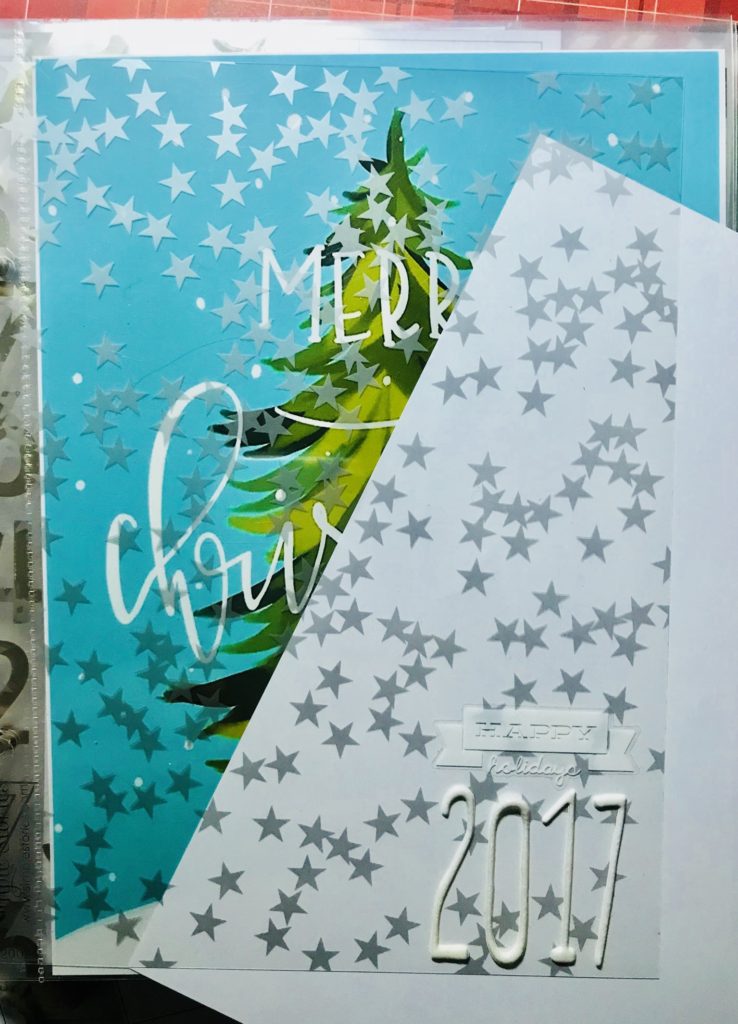
The stars are from an overlay.

What are your intentions for the Holiday Season? Besides my December Journal, I am also hoping not to gain the holiday 10 pounds!

Organizing My Dies…

Hello!

Monday, I shared how I organized my stamps. Today I am going to share with you how I organized my dies.

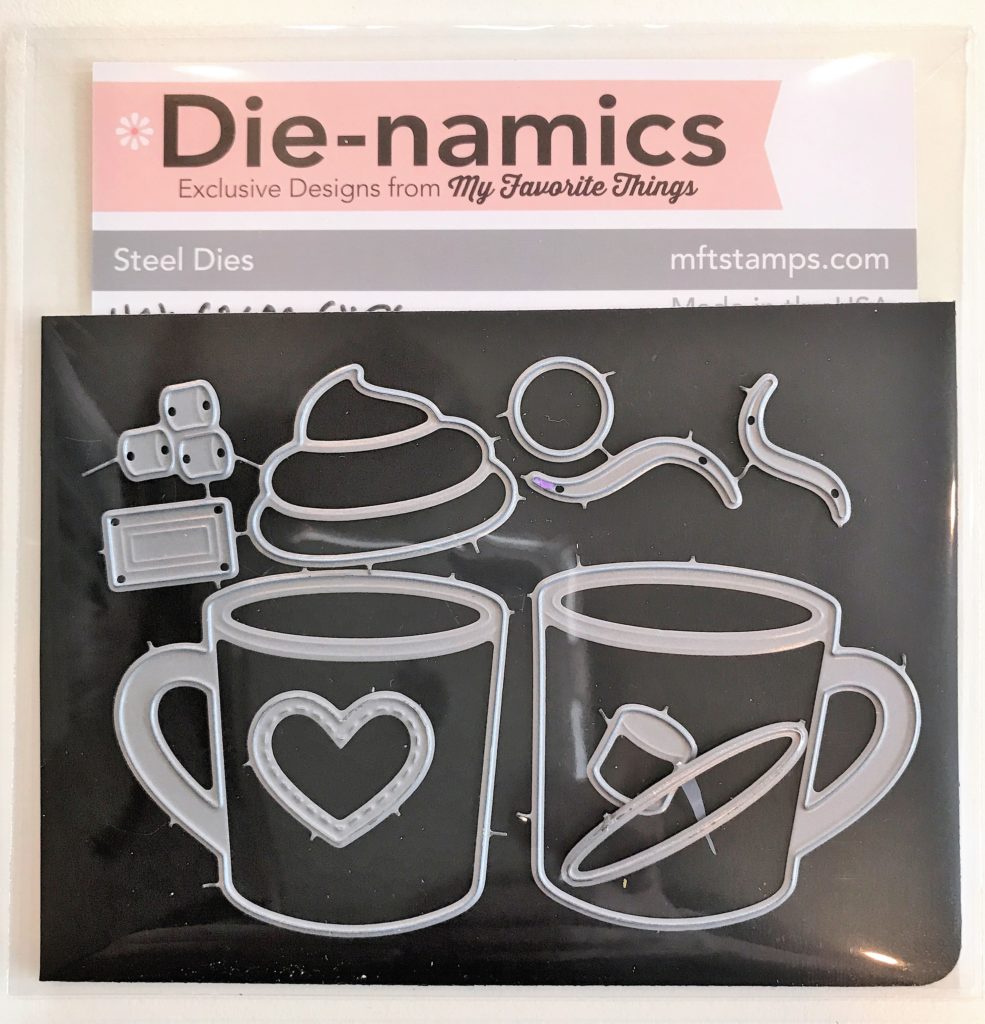
I don’t have a photo, but trust me, my dies were a mess. Most of them were in a wire basket, in their original packaging and I would sift through all of them, trying to find he one I was looking for. It was time to get this under control!

Once again, I credit this idea to my friend, Jennifer. For this project, I also used the small and large Avery Elle Pockets that I used for organizing my stamps.

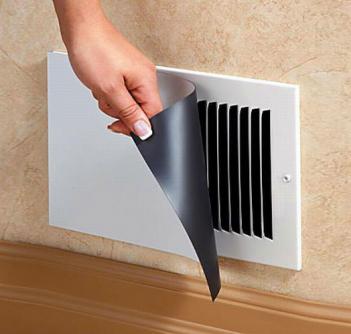
Since I was organizing dies, I needed to use magnetic sheets, instead of cardstock.  The magnetic sheets that Jennifer uses are actually  magnetic covers for air vents that can be purchased at your local hardware store.
Image result for magnetic vent covers

I had already invested in (and used a few for dies) Taylor Expressions Magnetic Pages, so I decided to use those sheets, instead of purchasing the vent covers.
Image result for taylored expressions magnetic pages

The only difference between the two sheets are that Taylor’s sheets are heavier or thicker then the vent covers, and the vent covers are a bit less expensive!

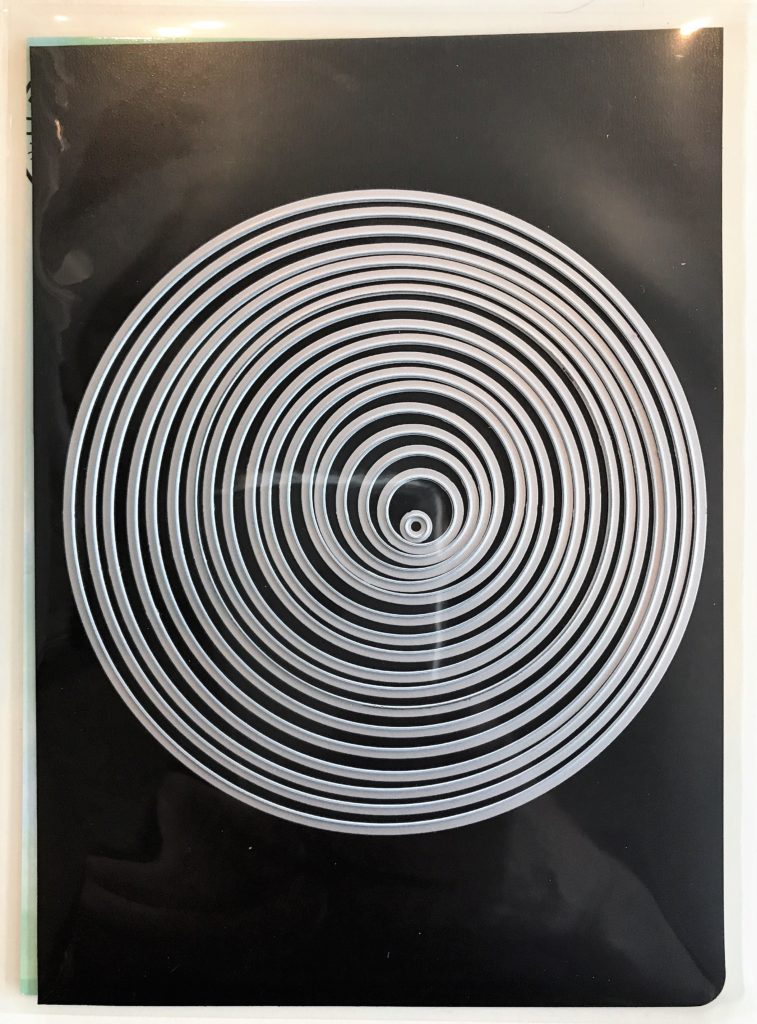
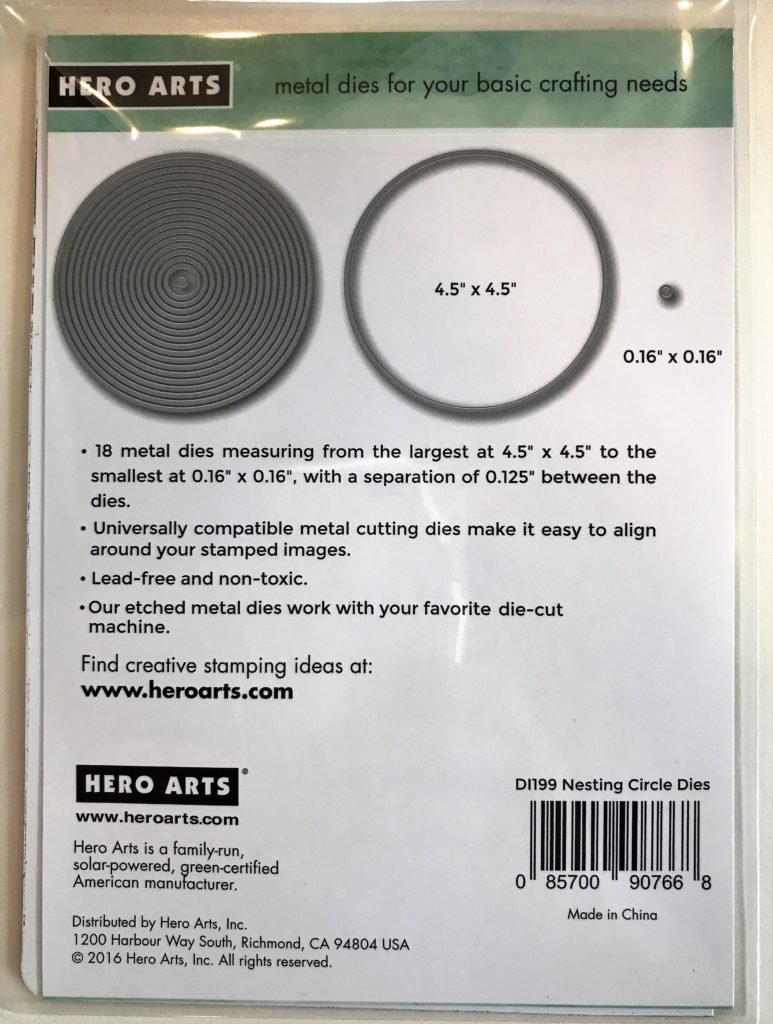
For the dies, I cut the Taylored magnetic sheet to the size of the Avery envelope I was storing the die. The dies fit perfectly onto the magnetic sheet and stayed put! This shows a large Avery Elle envelope.

On the backside of the pocket, I cut the label for the die to fit in the pocket, and slid that down inside.

Some of the dies were stuck to the original packaging with tape, so I just trimmed the packaging down to fit into the envelope.

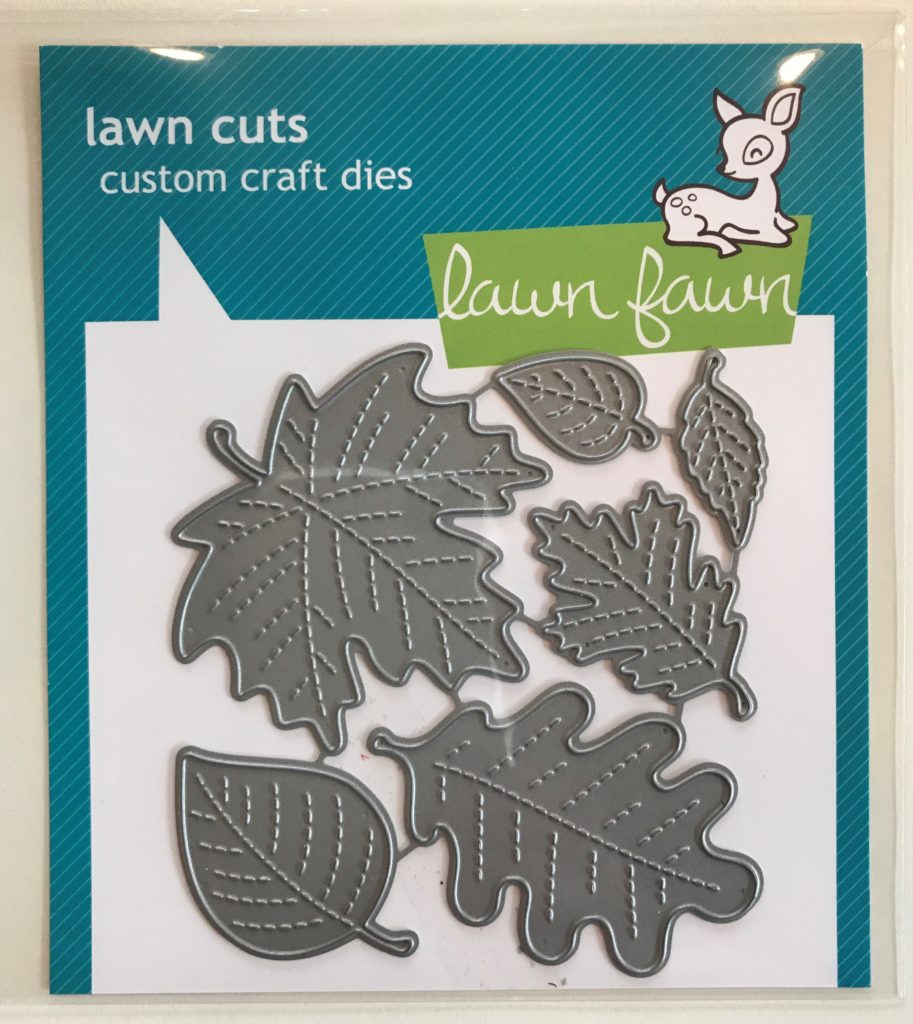
For this die, which wasn’t very large and had many smaller pieces, I cut down the original packaging and cut a magnetic sheet to fit the smaller Avery Elle envelope.

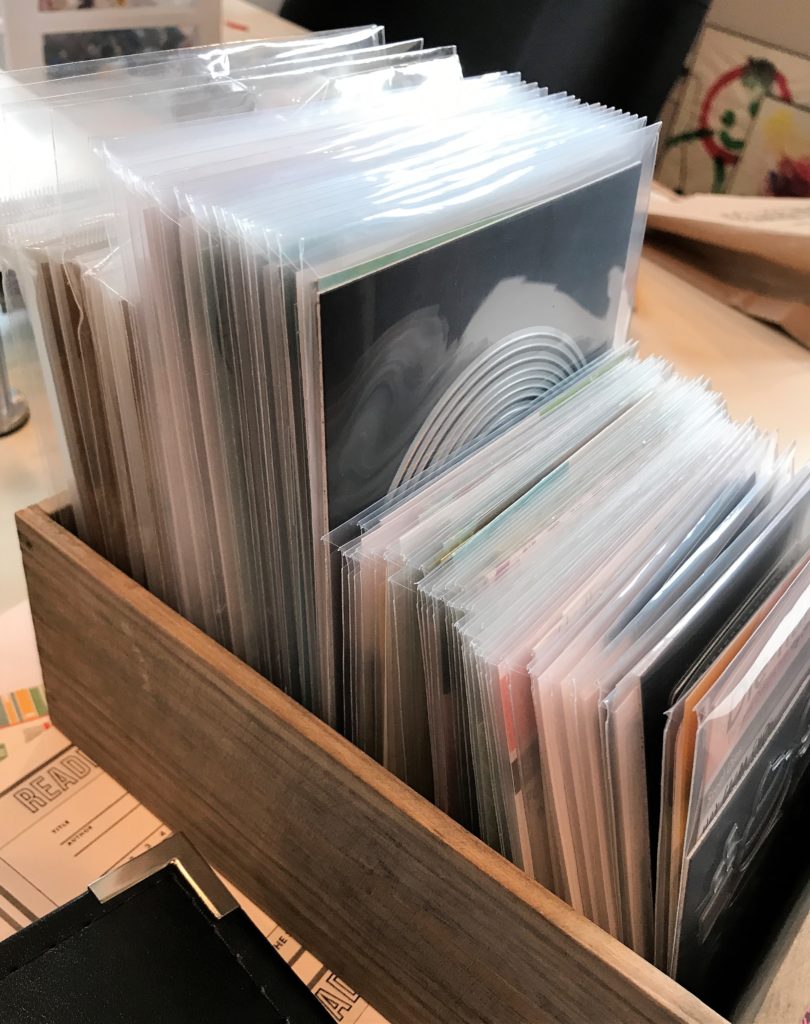
Here are all my dies sorted by categories and, at this time, by size. It makes me happy!

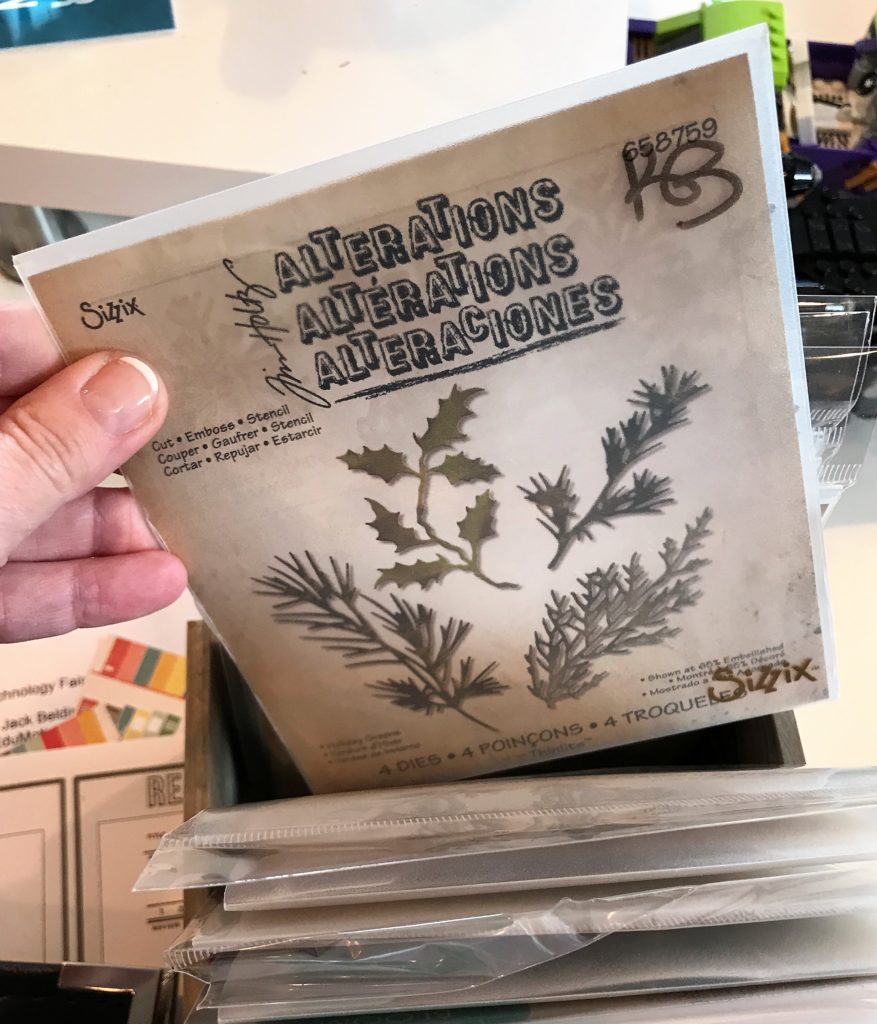
I do have some Tim Holtz dies that are already packaged in nice plastic envelopes and plan to keep them in those at this time. Jennifer has taken hers and placed them on  magnetic sheets due to the tendency for them to fall out of the edges of the packaging.

The best part of getting this all organized is knowing what I have and how easy it is to put things back after using them on a project.


Organizing My Stamps…

Welcome Back!

While cleaning out my craft items, I went though my stamps and dies, which I sorted and organized. Jennifer (once again) shared with me how she organized hers and I absolutely loved how the fianl “product” turned out.

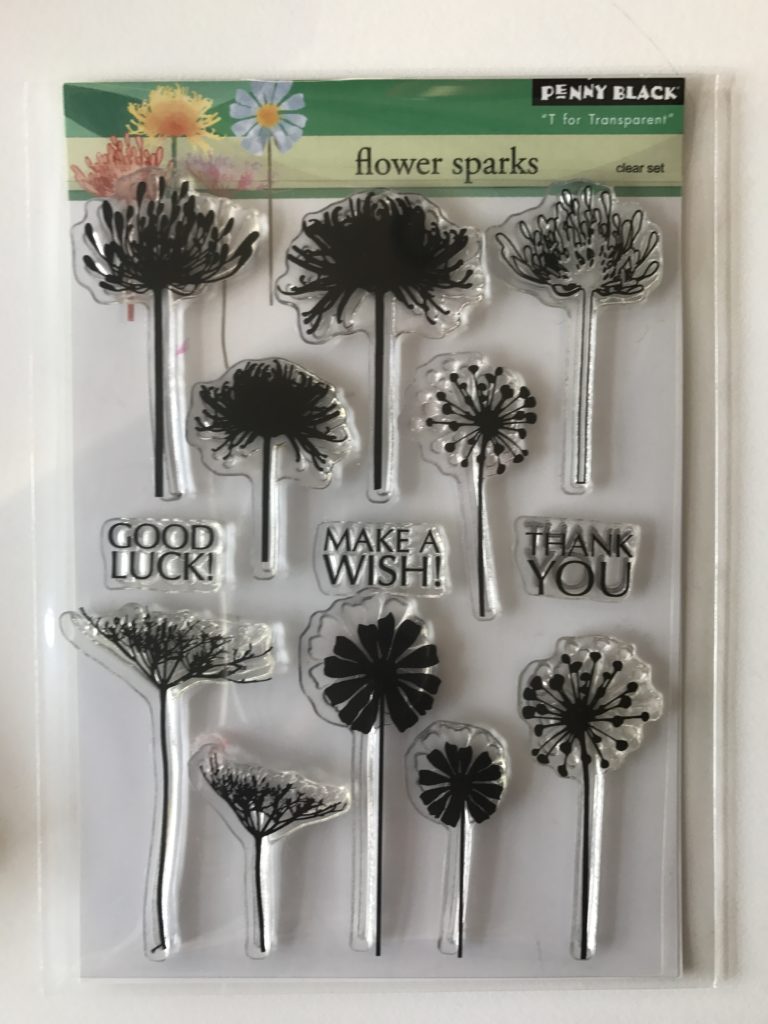
This is how “some” of my stamps were stored before organizing. A big unorganized mess. I didn’t use them very often due to not knowing what I really had.

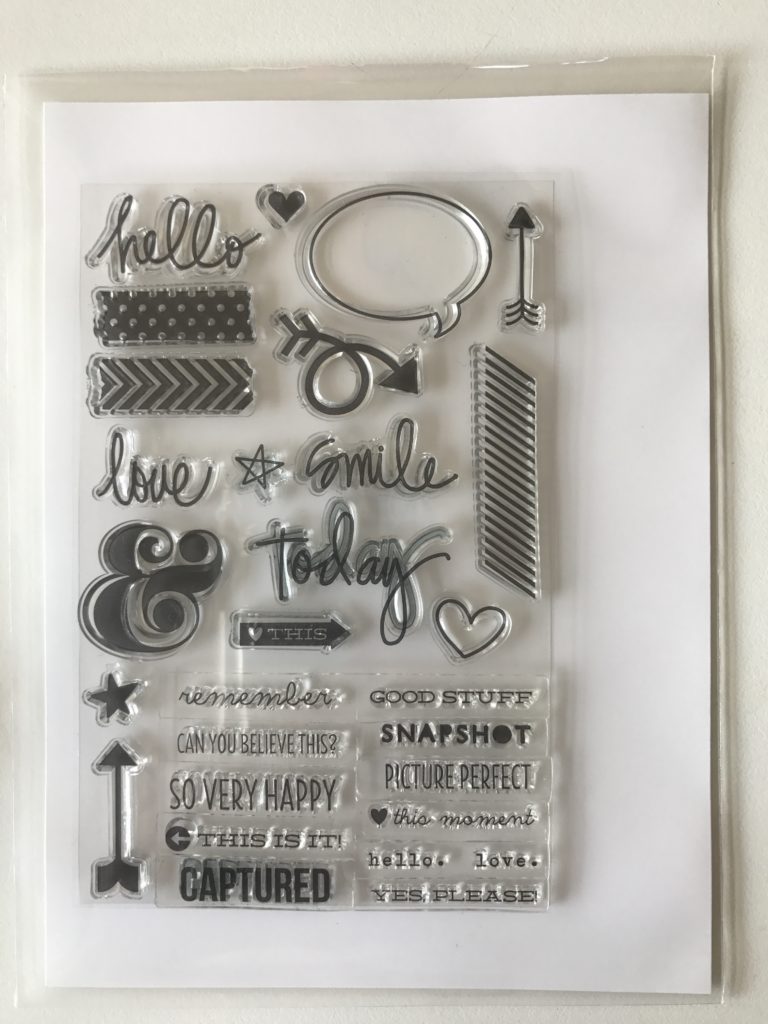
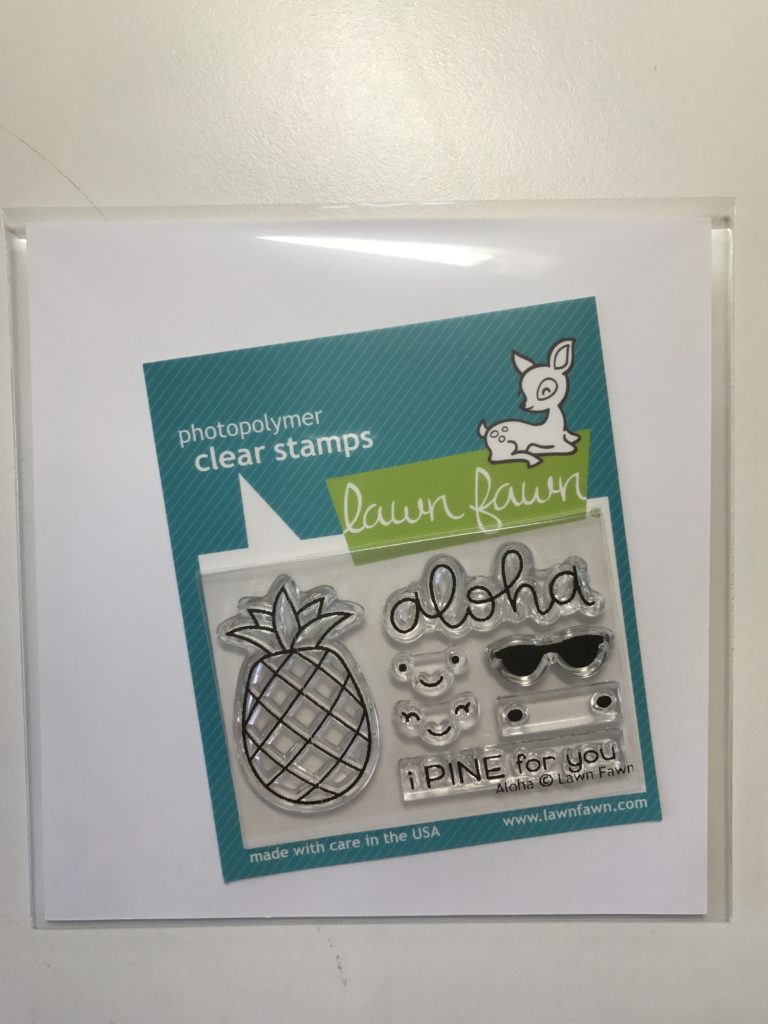
I started with taking each stamp out of it’s original packaging and placing it inside an Avery Elle Clear Storage Pocket.
Avery Elle LARGE Stamp & Die Storage Pockets - 5-1/2 x 7-1/4 inches Set of 50 SS-5001 Preview Image

At times I had to trim the original backing to fit in the pocket.

The stamps that did not have a white backing, I cut a piece of white cardstock to fit the envelope and then added the stamp set.

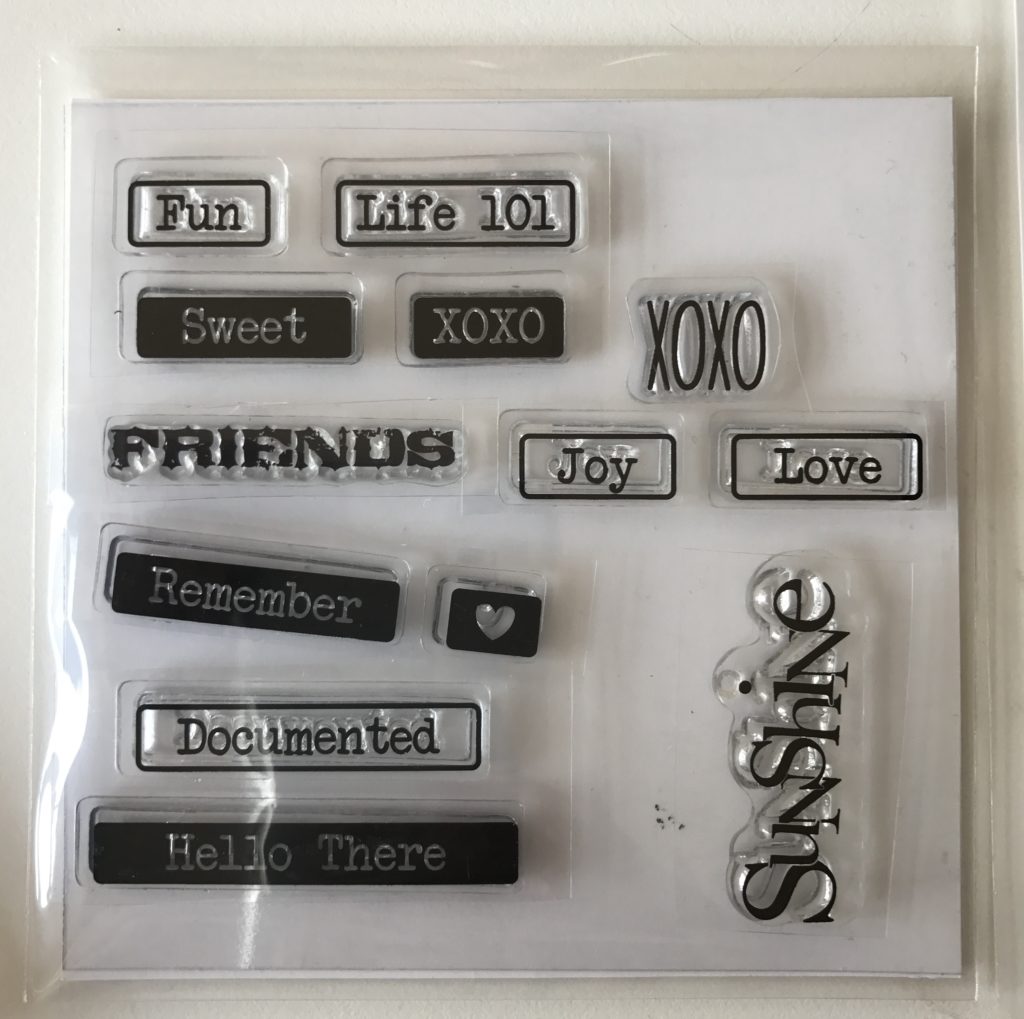
I had some stamps that were single, random words or shapes.  With those, I cut a piece of acetate and placed the stamps on that sheet. I then used a smaller Avery Elle pocket, cut cardstock to fit the pocket and placed the stamps in the envelope.

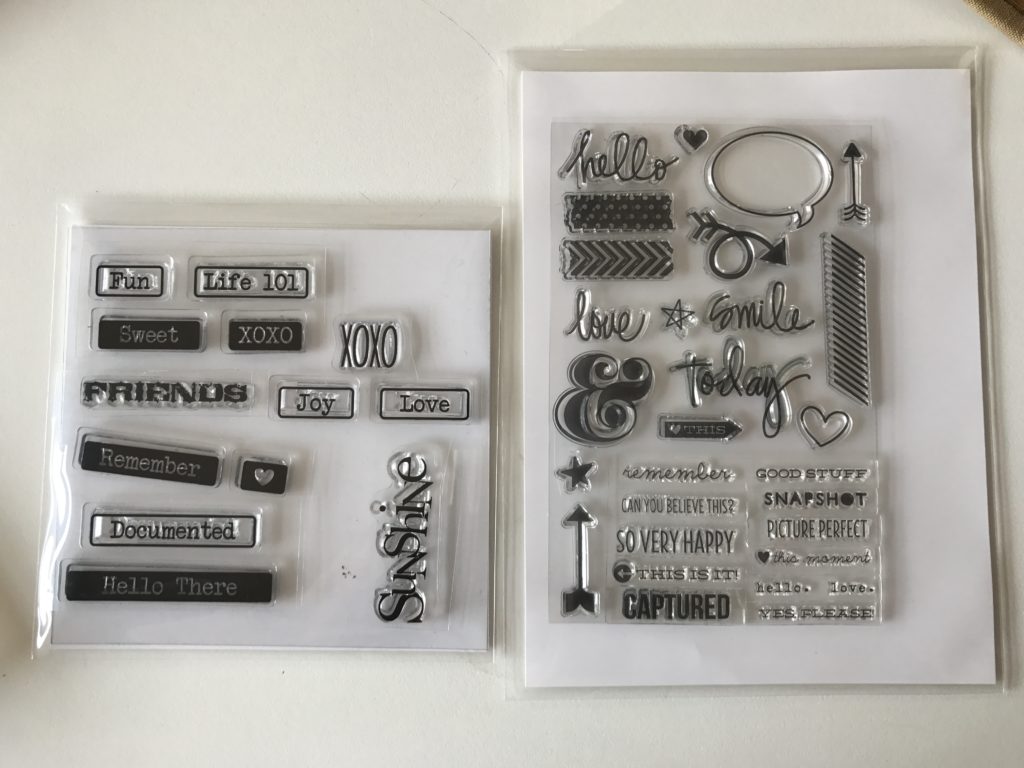
You can see the large pocket compared to the smaller pockets.

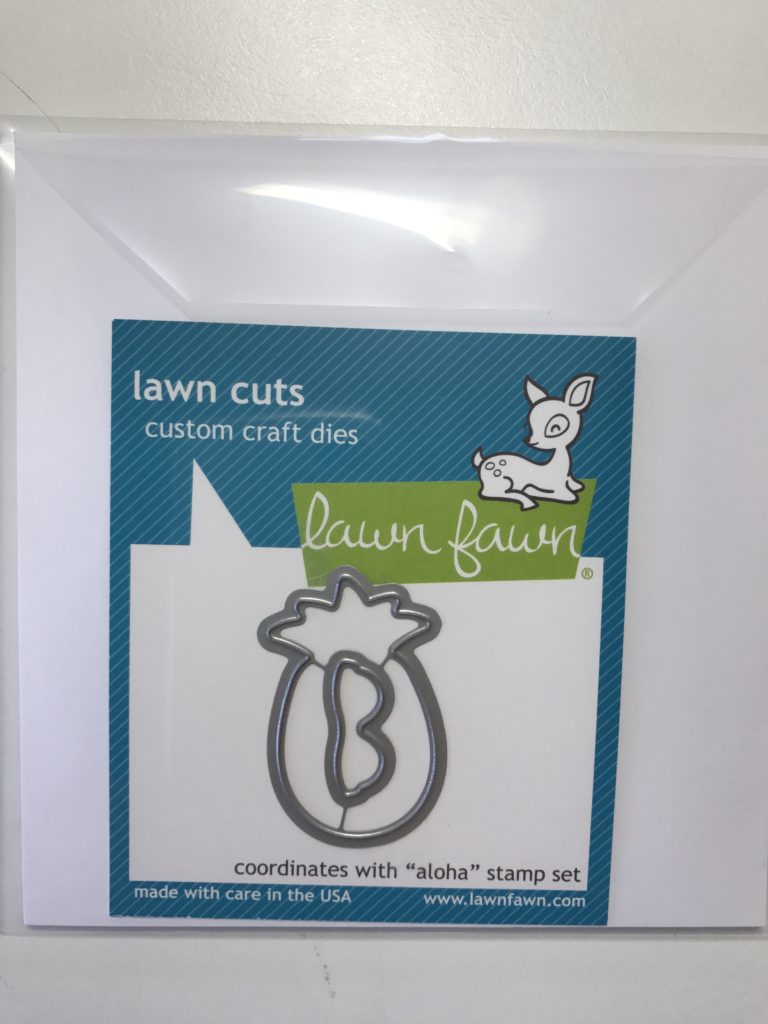
Some of my stamp sets have matching dies. I first cut a piece of cardstock to fit the pocket. I then placed the stamp set on one side of the cardstock.

Then on the other side of the cardstock I placed the matching die set! What an Ah Ha moment for me and also DUH!!!

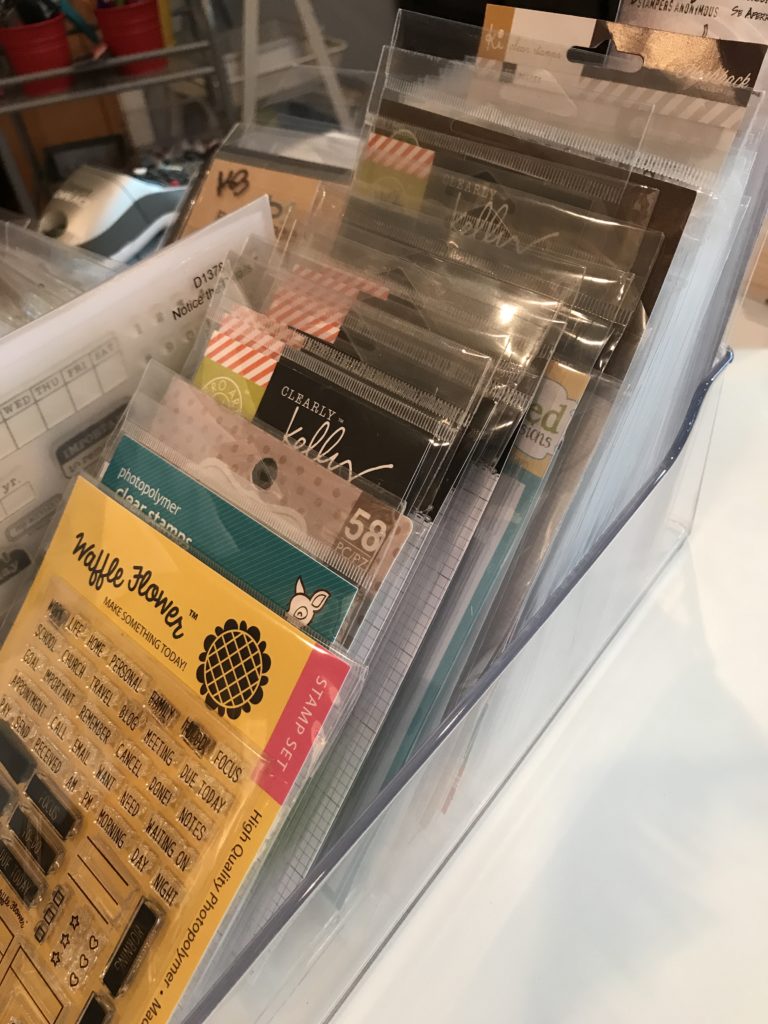
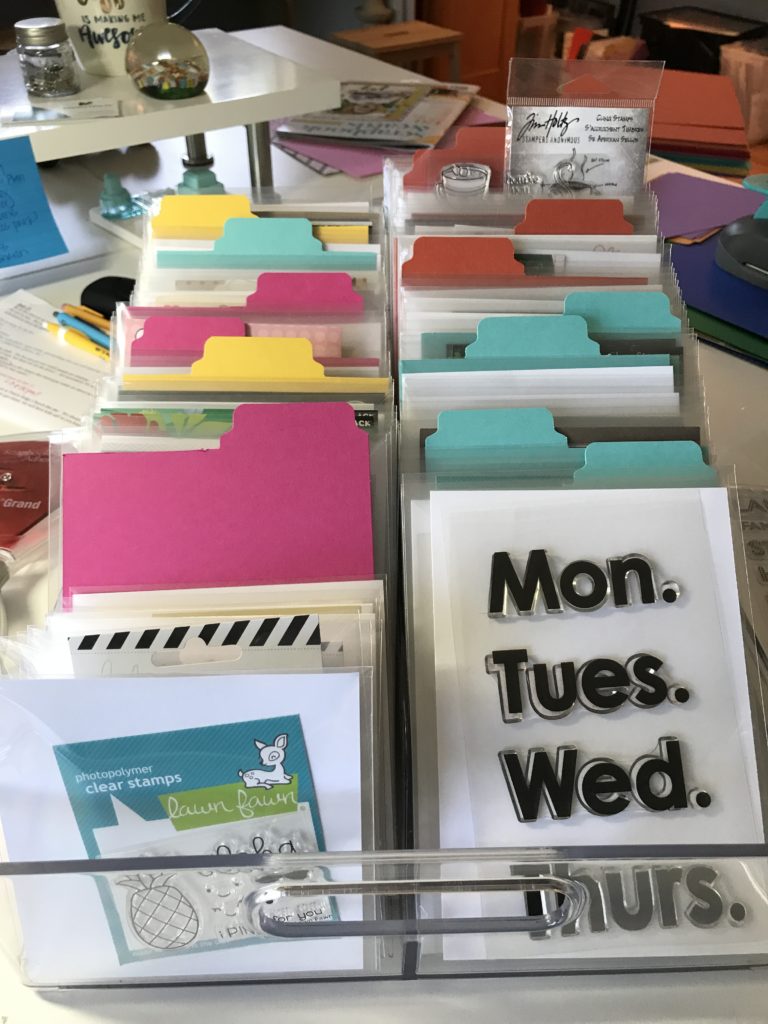
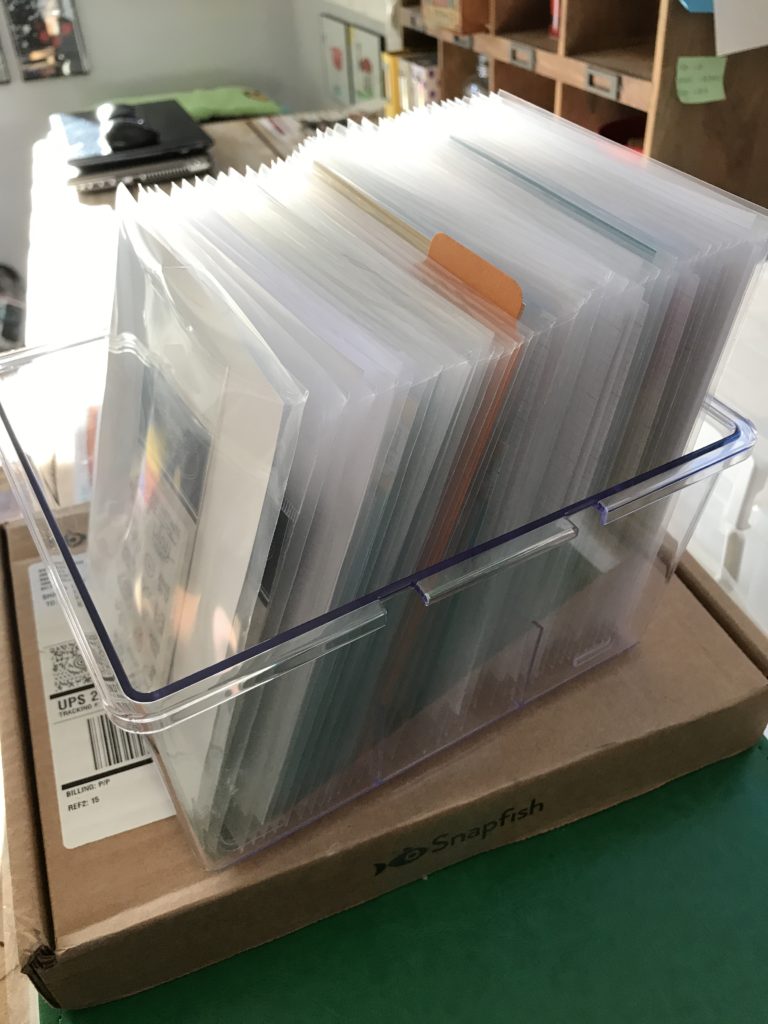
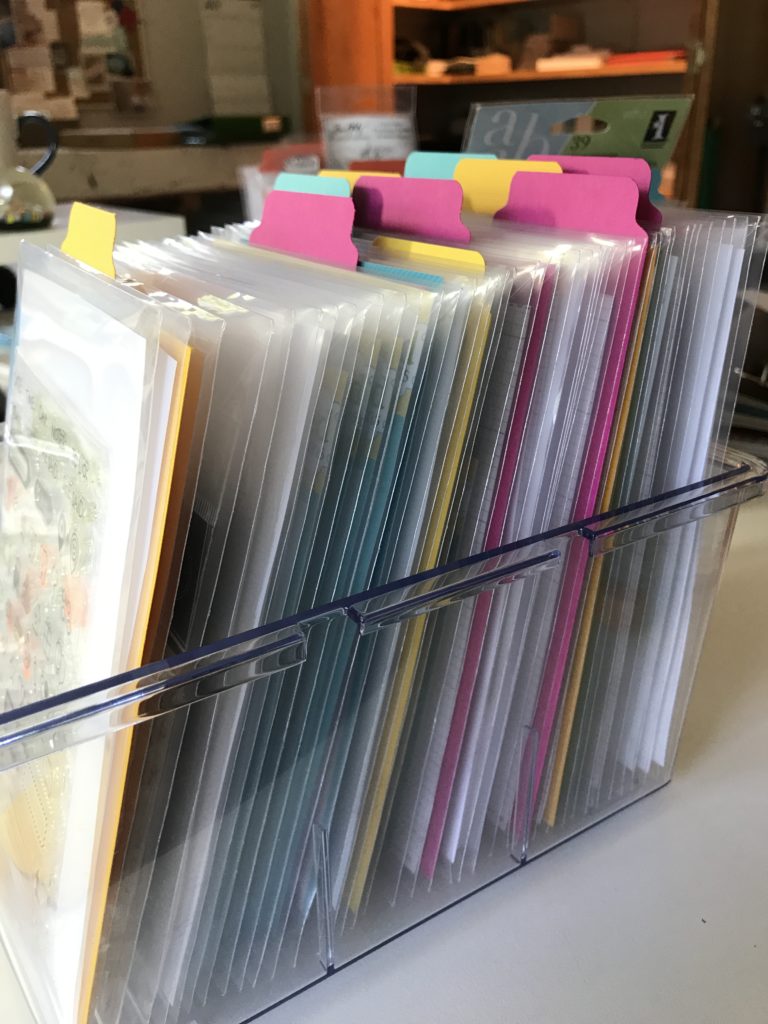
Here are all my stamps organized! I now have them placed in a refrigerator bin that fits stamps perfectly! I purchased the bin at target. Now, I just need to label my dividers (which I also made.)

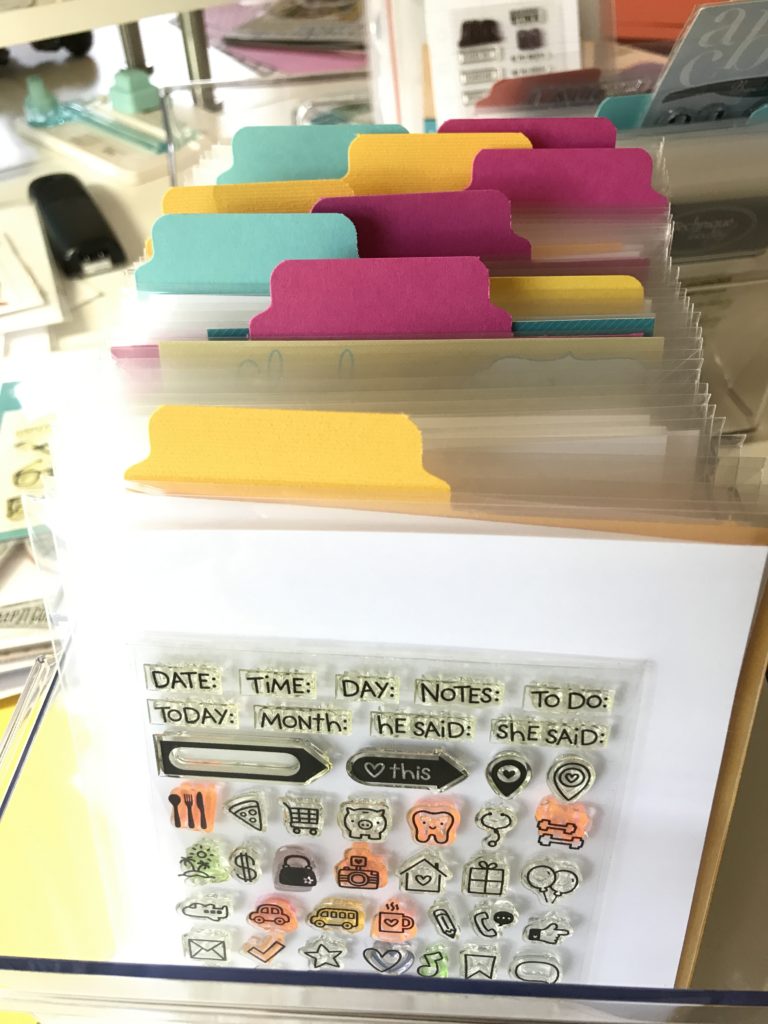
My “thing” as Jennifer referred to it, is planners and planning stamps. So, I organized my planner stamps separately from my “other” stamps. Here are my planner stamps. Love how they all look the same!

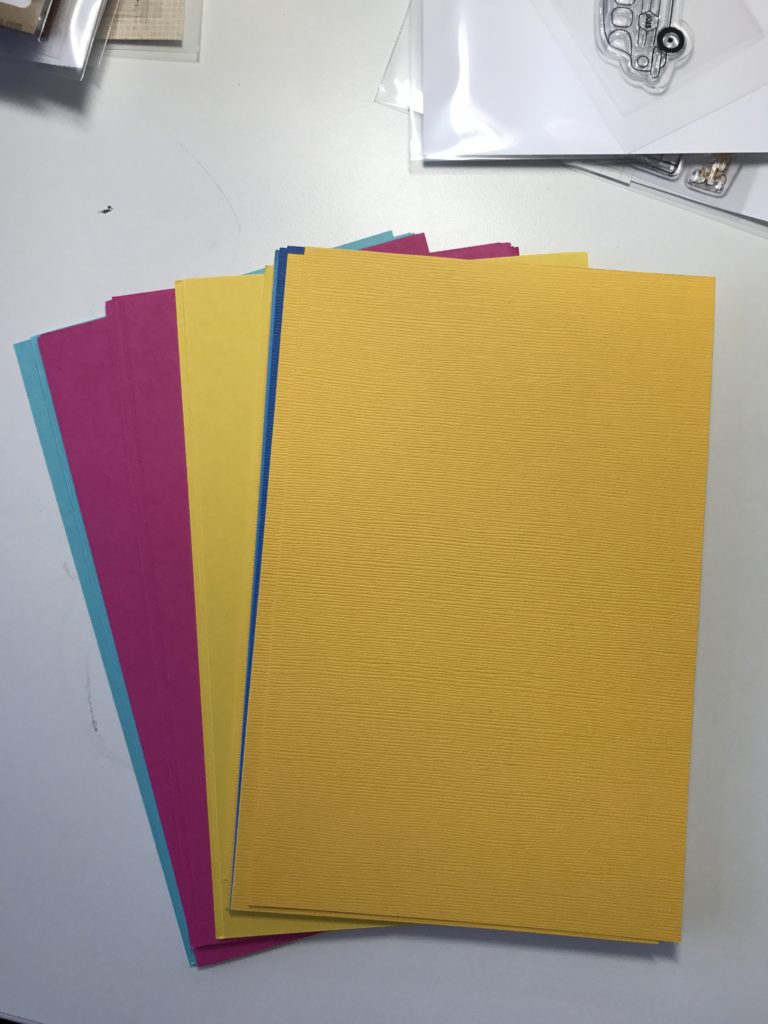
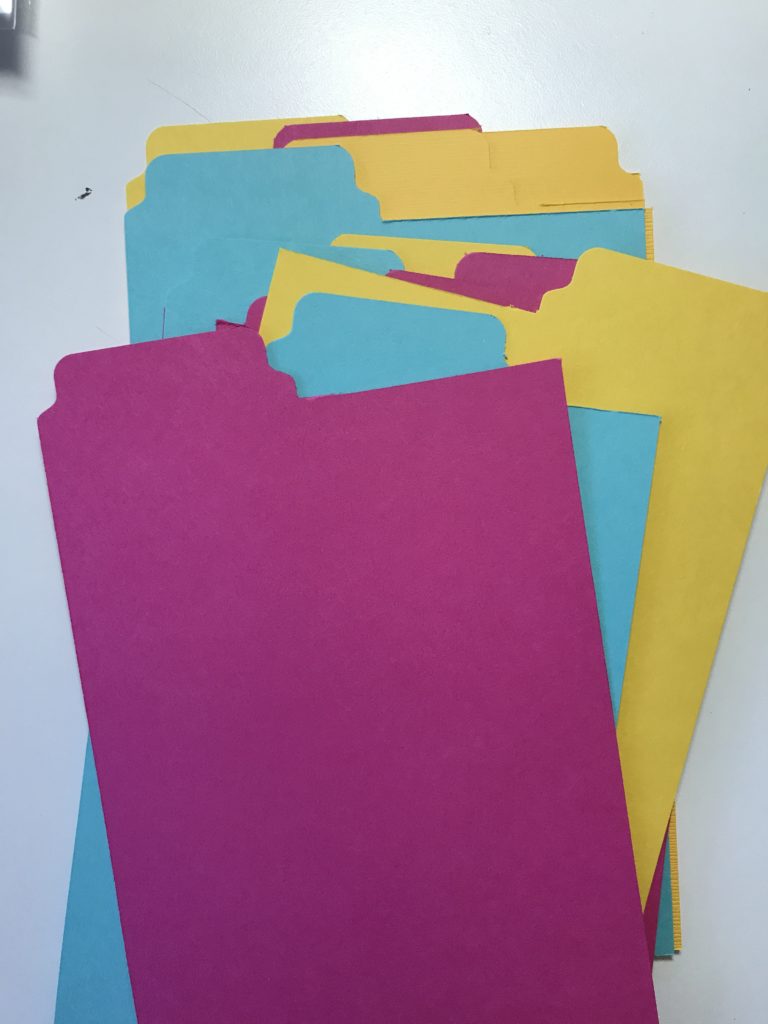
I knew I would need dividers for these stamps, so I used my Tab Punch from WeR Memory Keepers to create these tabbed dividers from cardstock.
Image result for tab punch from wer

I first cut my cardstock to fit the container and for a tab to peek above all the stamps sets.

I then used my tab punch. It was SO easy!!

Look how organized they look! Be still my heart!

 And a look from the front. Just need to add the labels!

One last organization task: my dies. These were a little more involved, but well worth a little extra effort! Check back tomorrow to see how I organized my dies in the same manner, but using magnetic sheets.

Memories…

Welcome Back!

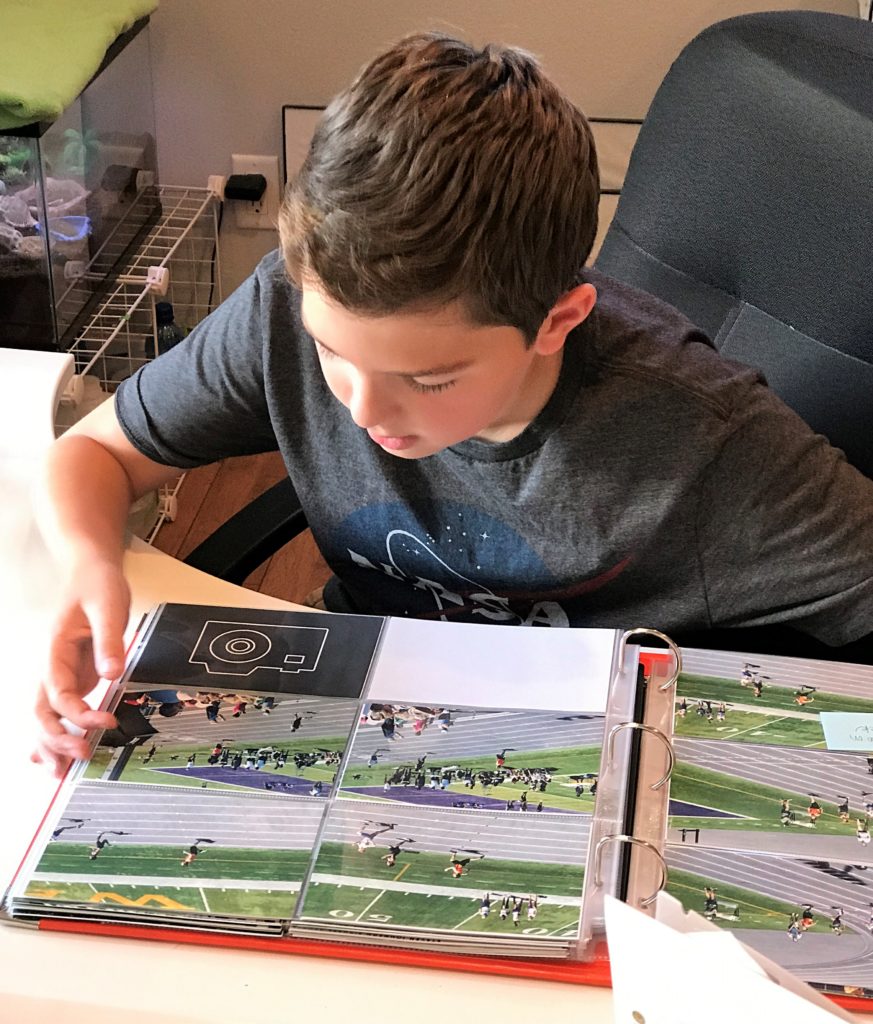
I am so happy to announce that I have gotten all of Jack’s track pictures (from this season) into a scrapbook!! Yay Me!! The extra bonus was that I caught Jack checking out his scrapbook!

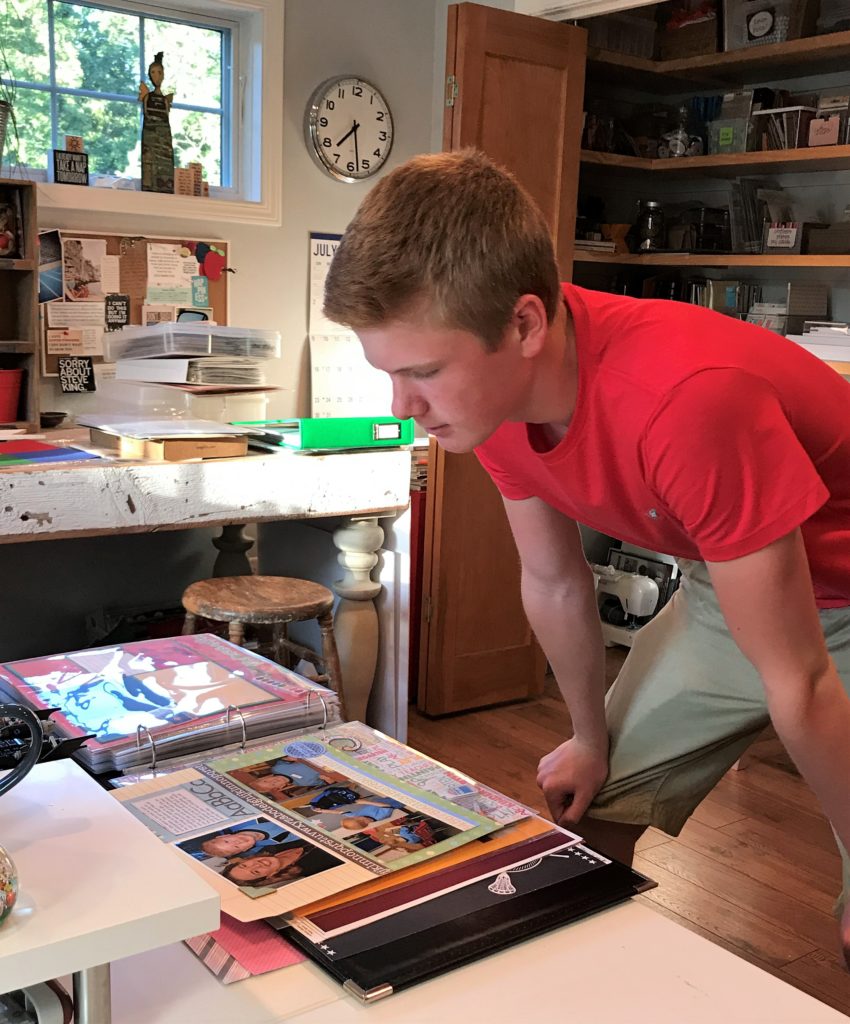
Sam wandered in and started checking out his school book!

That is why I scrapbook, so the boys can enjoy memories for years! Which I know they will for years, because I made them promise that they will keep my scrapbooks forever…even after I am gone.

Cleaning Out…

Welcome Back!

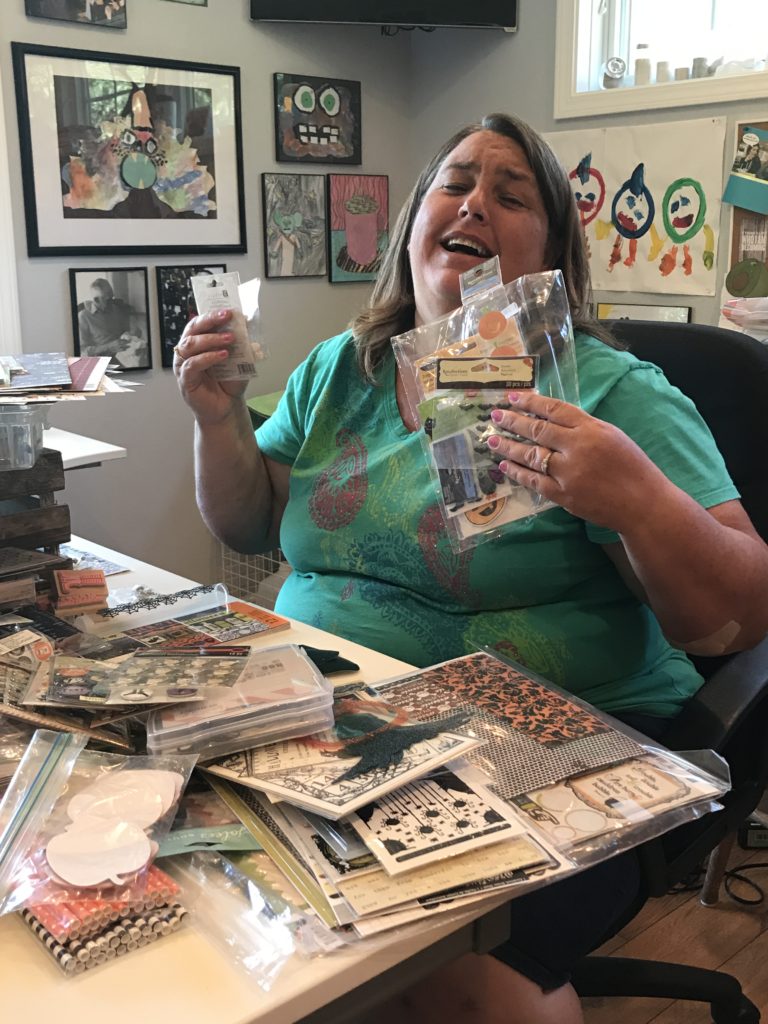
So, I have been cleaning out my scrap crap (again!) I know, how many times can I clean out? This time, though, it was a deep clean and not just a surface clean. I went through all my papers, stamps, stickers…every container and every box.

The “biggest” difference this time was that I reorganized everything.  Previously, I had all my papers together, stickers together, die cuts together. Same product together. This time, while organizing, I put all like themes together. So all the paper, die cuts, stickers, etc. for summer, can be found all together! So much easier to know exactly what I have!

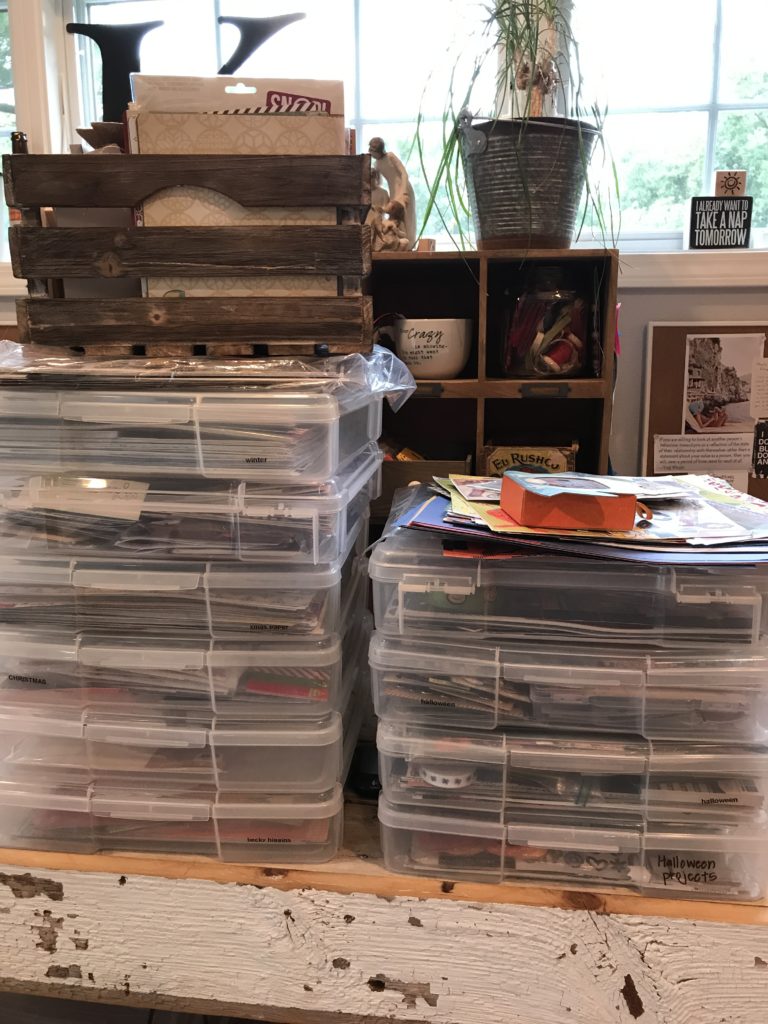
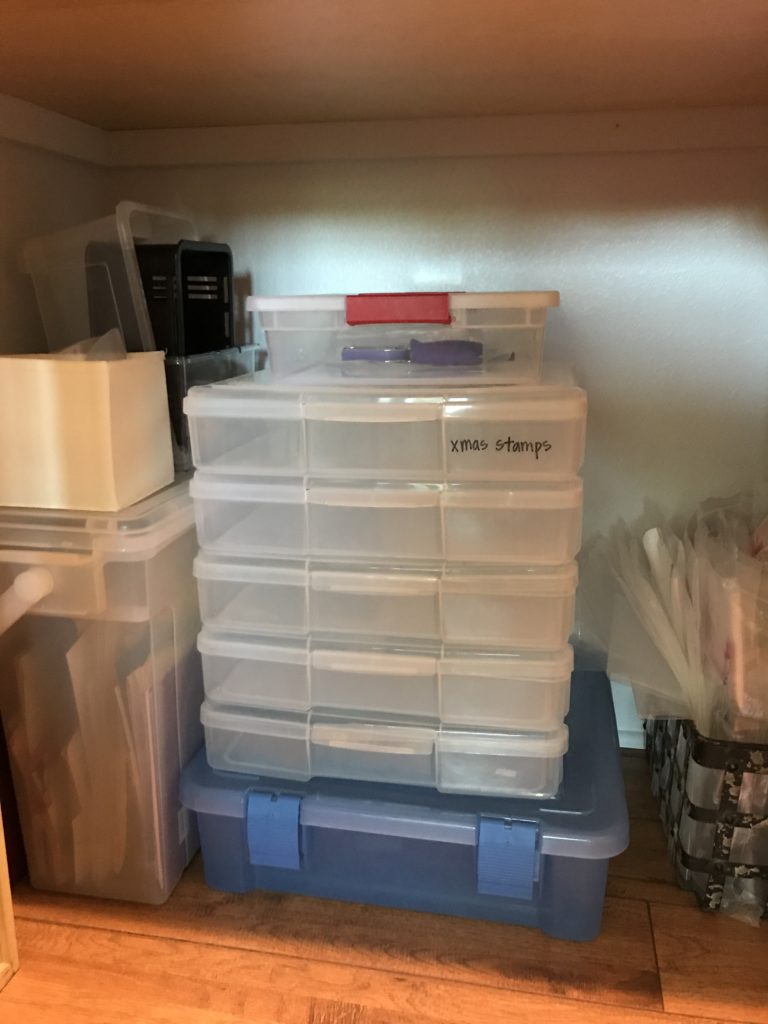
Here are the bins that started my destash. This is JUST my Christmas and Halloween things…including the brown crate.
Yep, pretty excessive…but such good stuff! 🙂

Believe me, I have started to sort through these bins many times, but due to the amount in each bin, I would quickly become overwhelmed, put everything back into the bins and quit.

But, never fear, Jennifer is here!

I really would not have gotten this destash started or completed if it wasn’t for Jennifer! She sorted everything by collections and even mentioned how product has dates! Which was a good thing. Some products I have been saving since 2007 in order to use in that “perfect project.”  Jennifer told me if I have had it for 10 years, it’s likely that the perfect project was not going to happen!

Excellent point!

Jennifer was so good! She pointed out when I had little bits and pieces of a collection, that I had used the collection to the best it could be used and it was time to let it go! (yea!) So we spent 6 hours sorting, organizing and destashing!

Five empty bins by the time we got it all cleaned out!!

I now have two bins for Halloween and two bins for Christmas! It feels good to get through all that stuff and get down to what I really like and need. There’s always something new and exciting being released and now I have room for it!

I am selling my stuff at the Memory Bound Garage Sale on
September 15-17 if you need any good stuff!

Happy Planner…

Hello!

I am still loving my planners, especially my Happy Planner for my weekly memory keeping. Here’s a look at our Spring Break in Hollywood pictures!

I took loads of pictures and wasn’t short on choices to include for the week. I decided to choose a few favorites from each day that highlighted some of the BIG events we did.

As you can see, my planner is getting chunky which makes this planner girl happy!!

Will definitely be sharing more of this big guy in the weeks ahead!

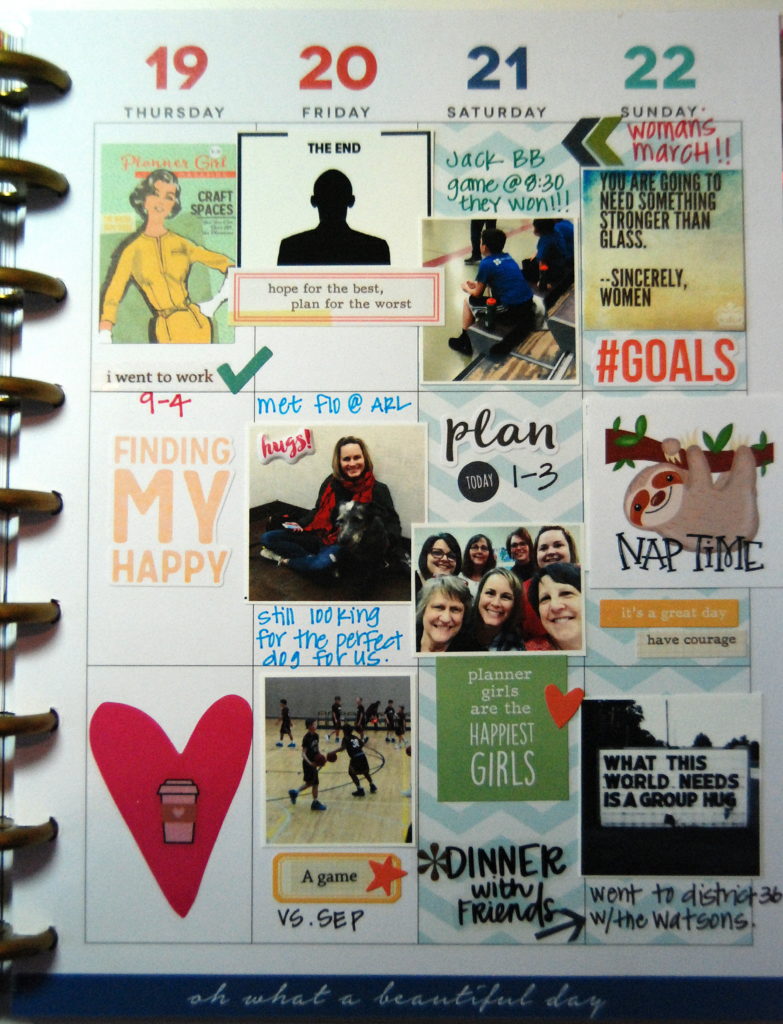
January Memory Keeping…done!

Welcome Back!

Last month I shared with you a COMPLETED week from my Happy Planner which I am using for monthly memory keeping. Now I’d like to share with you my completed MONTH! Yippe!! I actually did it and enjoyed the process!

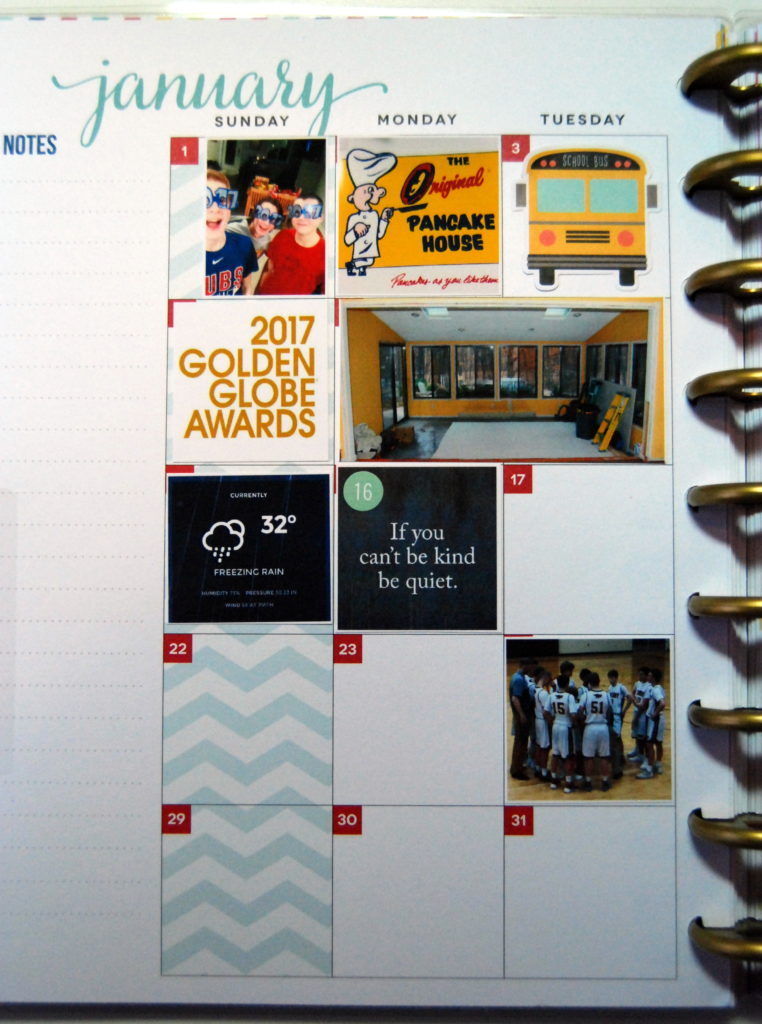
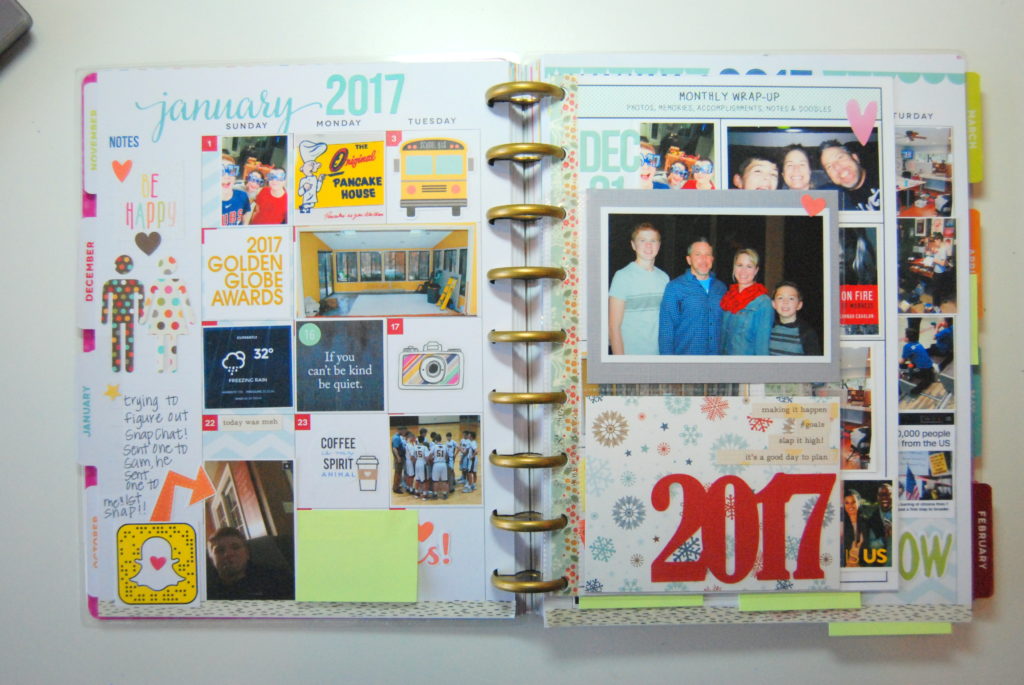
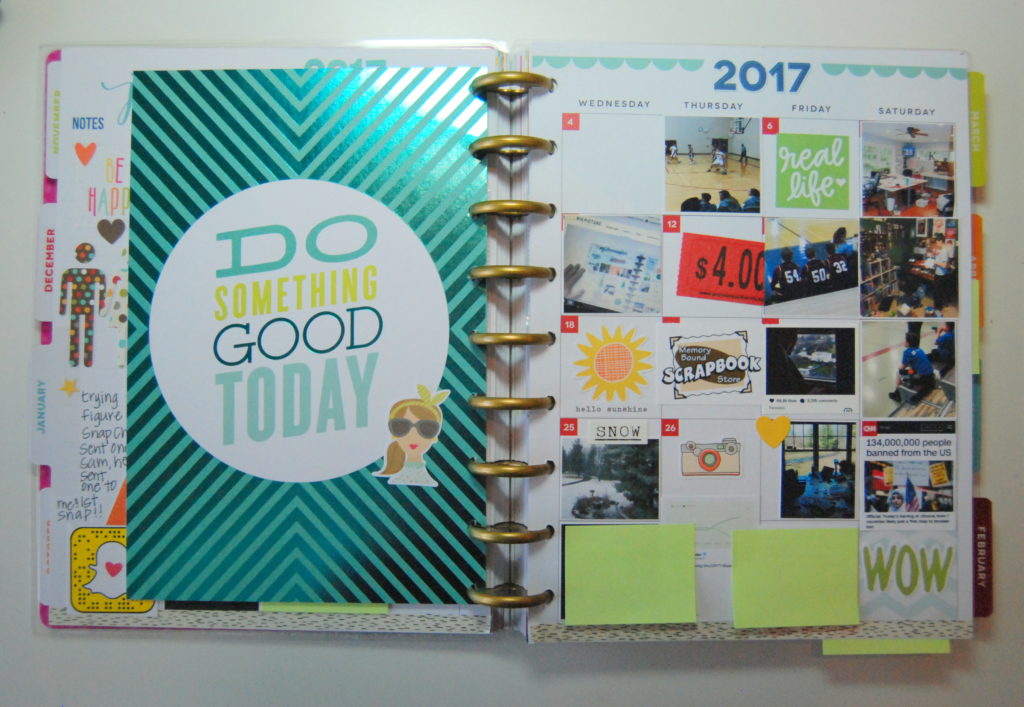
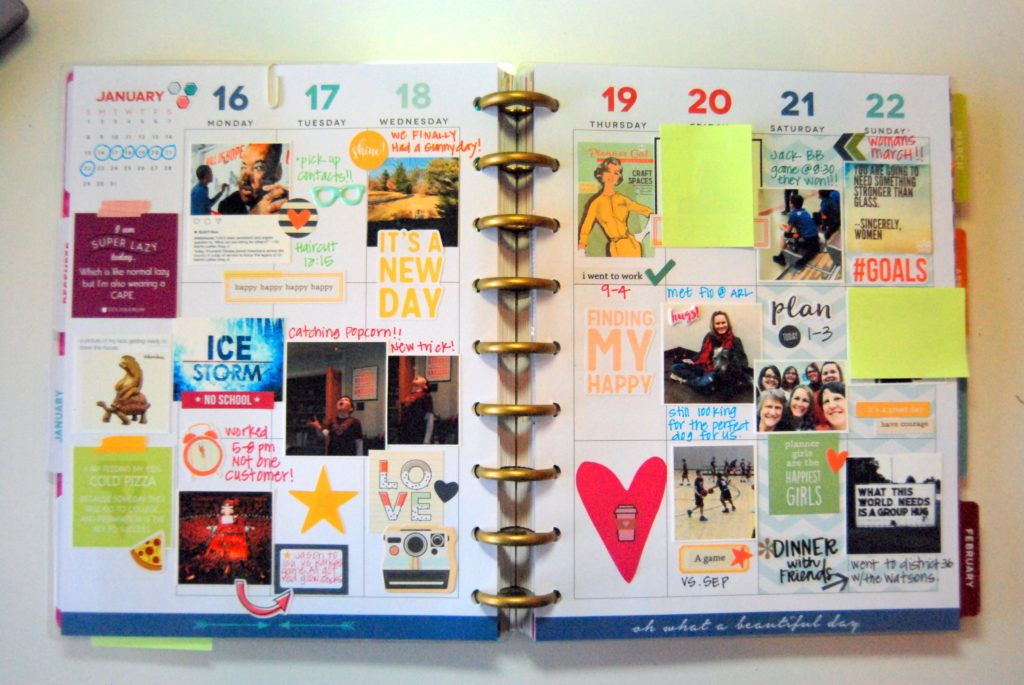
This is a look at the month layout. I tried to put an “overview” picture for the day. If I did not have a picture, then a sticker did the trick! The smaller 3×4 refill page is from my planner class. I punched it with my happy planner punch and it fits perfectly into my planner.

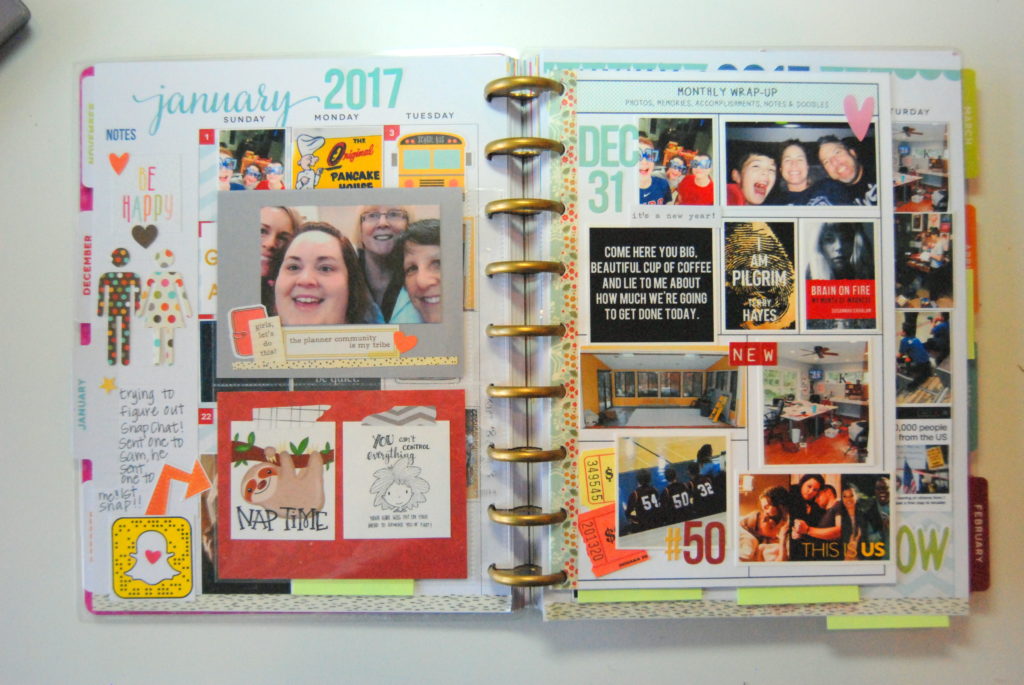
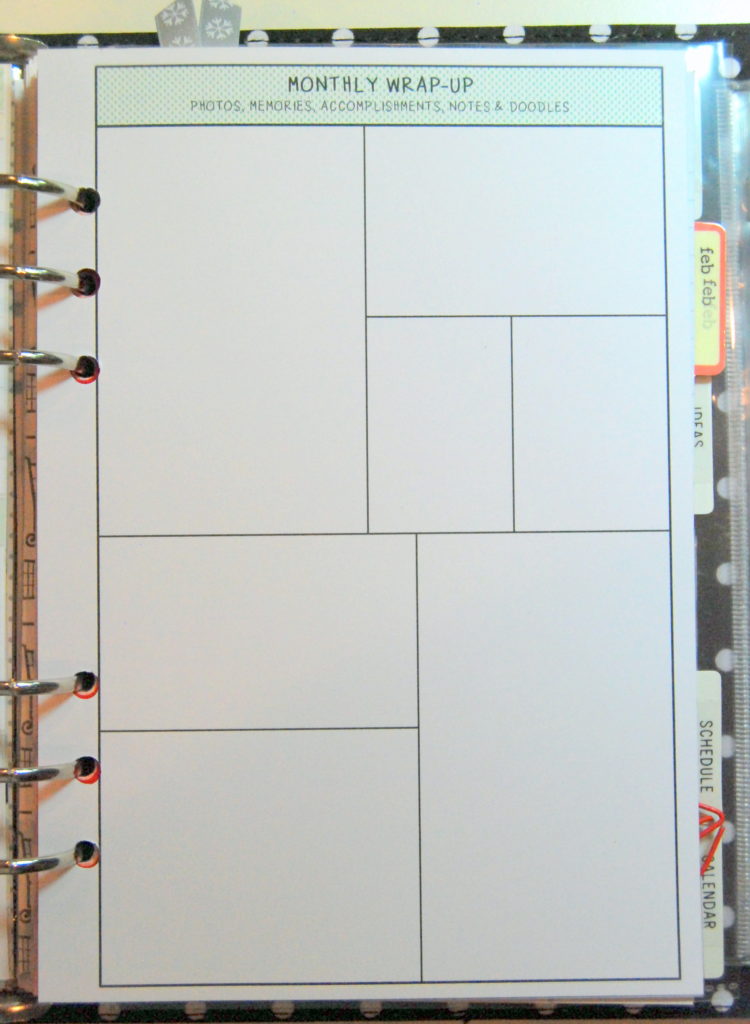
When you turn the small refill page, you see the back side which includes a picture of my planner gals and some quotes on the bottom. The next page is also from my planner class. We use “Monthly Wrap Ups” for quotes, pictures, memorabilia, doodles or anything from the month that you want to document.

On the back of my monthly wrap up, I included a page from a Happy Planner divider from an earlier month that I enjoyed, but did not use. So, I ripped it out, adhered it to the back of this page. Perfect backing!

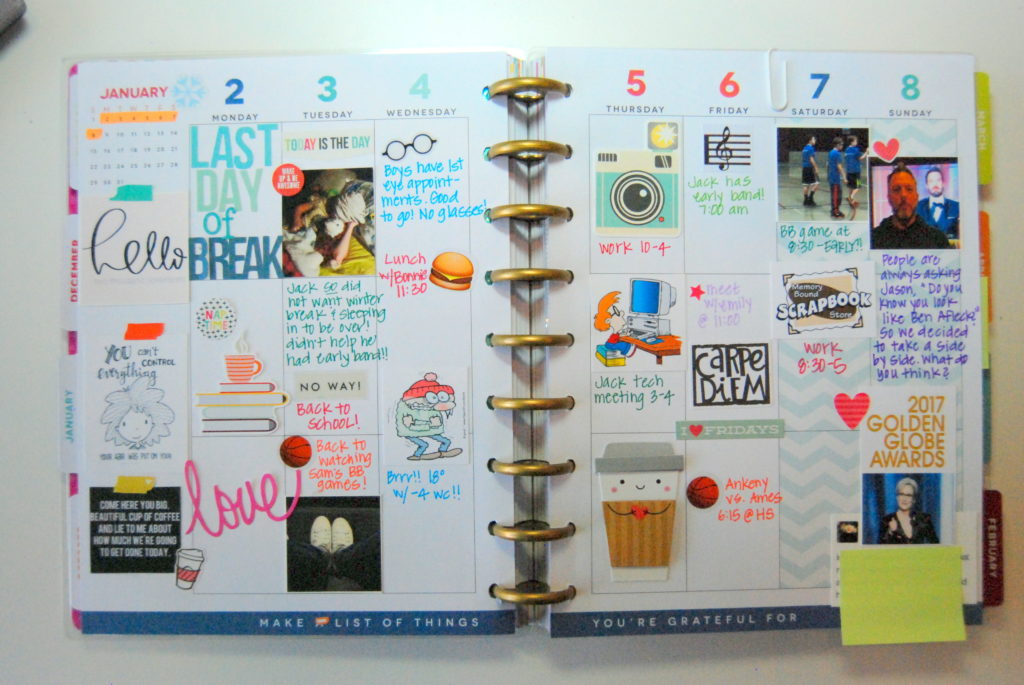
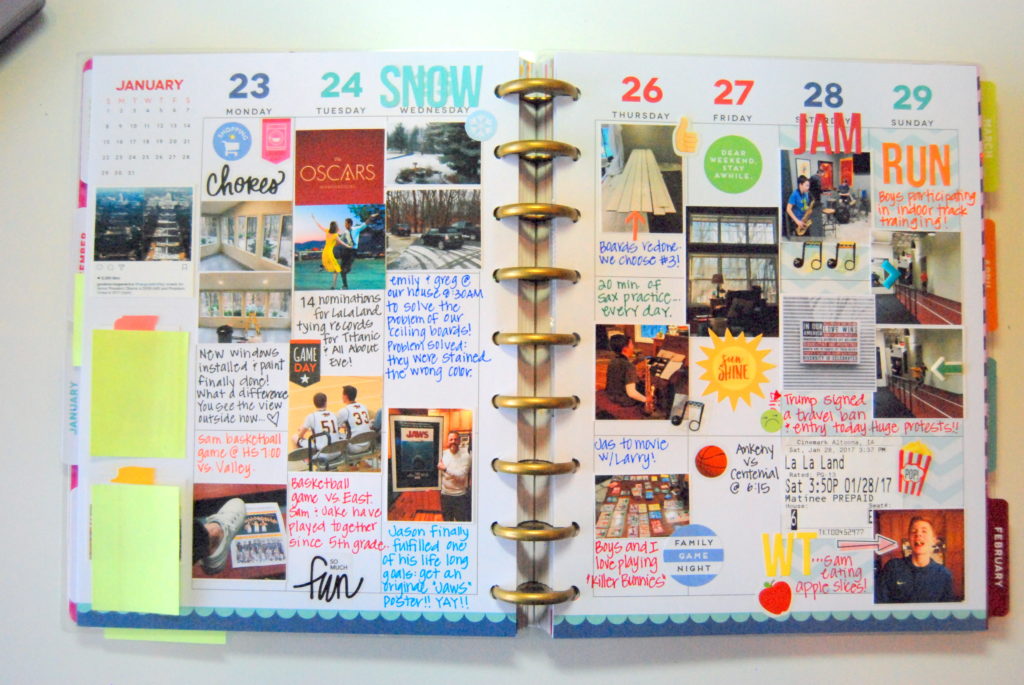
The weekly pages have more details about each day and othe happenings in the news. I tried to include a picture for the dar and some journaling. As you can see, when starting this process, I used more stickers than pictures. Now, I may be taking too many pictures and just need to use stickers!

Where is the week of January 9-15…oops! Not done and probably won’t be and I am ok with that.

Week of 12-22.
What are the post it notes? Political stuff.

This week you can see I have more journaling about the week.

Overall, I am super excited that I actually have a whole month of our life documented! Someone mentioned that my pictures were way too small, which might be, but I have it done!!  I am now working on finishing up February…keeping my fingers crossed that I finish another month!


The Struggle…

Hello!

I have been struggling with my memory keeping. I love memory keeping and everything about it: the paper, the embellishments, the creating, the finished project.

And I have tried it all:
~12×12 pages
~mini books (lots)
~birthday albums
~Project Life
~Travel albums
~8×6 Albums
~4×4 Albums
~Week in the Life with Alli Edwards
~December Daily

If I have tried so many different ways to capture our memories, then why do I still have boxes after boxes of pictures that aren’t in albums??? I start out strong…all excited about a new project…“I will complete this album this time until the bloody end!” And I get about 7 days in and…well…that’s it. Hence the numerous boxes!

I am an Instagram junkie and a trend that I am seeing in the planner community (love) and the scrapbooking community (love) is memory keeping in your planner (love). While scrolling through instagram, I have noticed several planner gals posting pictures of using their planner as memory keepers. I have been playing with this idea (with absolutely no real road to follow) but, needless to say, it intrigued me, so I started digging for information, which wasn’t hard to find…there’s a lot out there!

I found a gal, Amanda Rose Zamp, who actually offers a class focusing on memory keeping in a Happy Planner. Go to find out, she is the gal that has inspired the other planner gals to memory keep in their planners! (Small world!) I signed up for the class and I am super excited (imagine that) about the process! I really think it will be doable for me! (fingers and toes crossed)

So I am going to share with you the process I have been doing to memory keep and journal in my happy planner, for the month of January. New year, new memory keeping plan. Keep in mind, you could do this with any planner.

After loading the pictures (there are plenty to load) onto my computer, I cut and paste them onto a word document. Next, I size each picture to fit in the weekly or monthly box of my planer and print them off on photo paper. It actually creates a composite sheet.

After cutting out the pictures, I arrange them onto the weekly page. These are the pictures I have done for this week so far.
DSC_0021

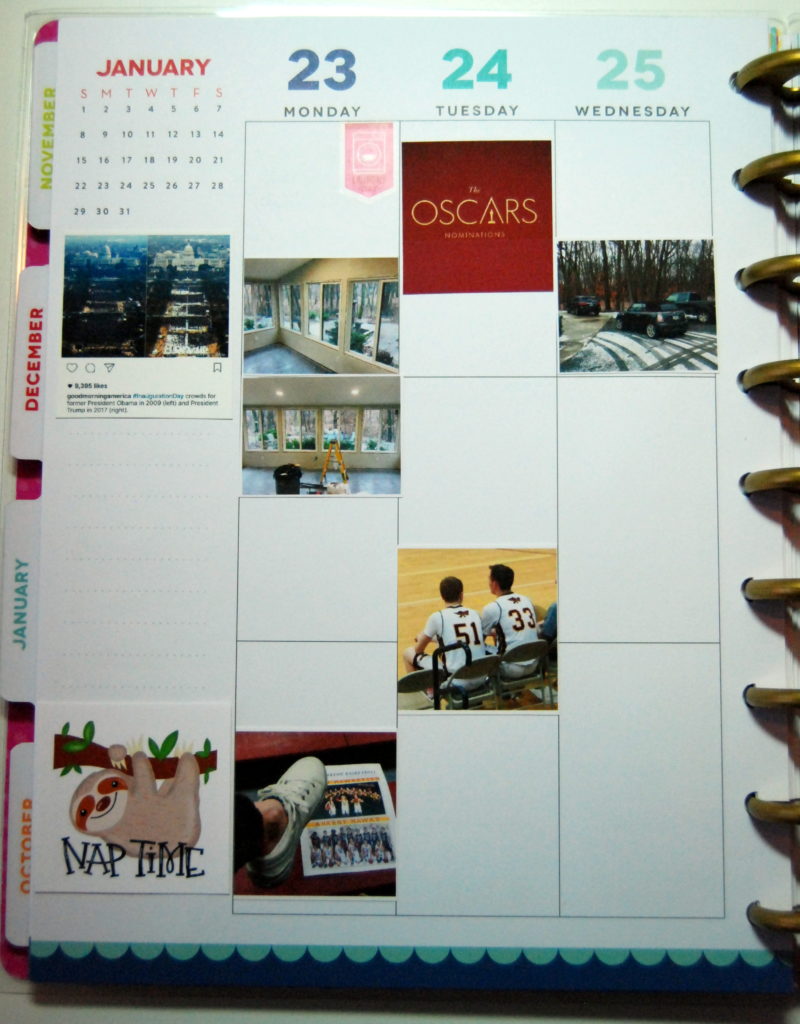
I then go in and add stickers and embellishments to empty square and the photos. In doing so, I am using my planner information (more on that to come) to help me fill in the blanks, so to say. This is last weeks COMPLETED layout or spread! (Did you see that I used the word COMPLETED!)
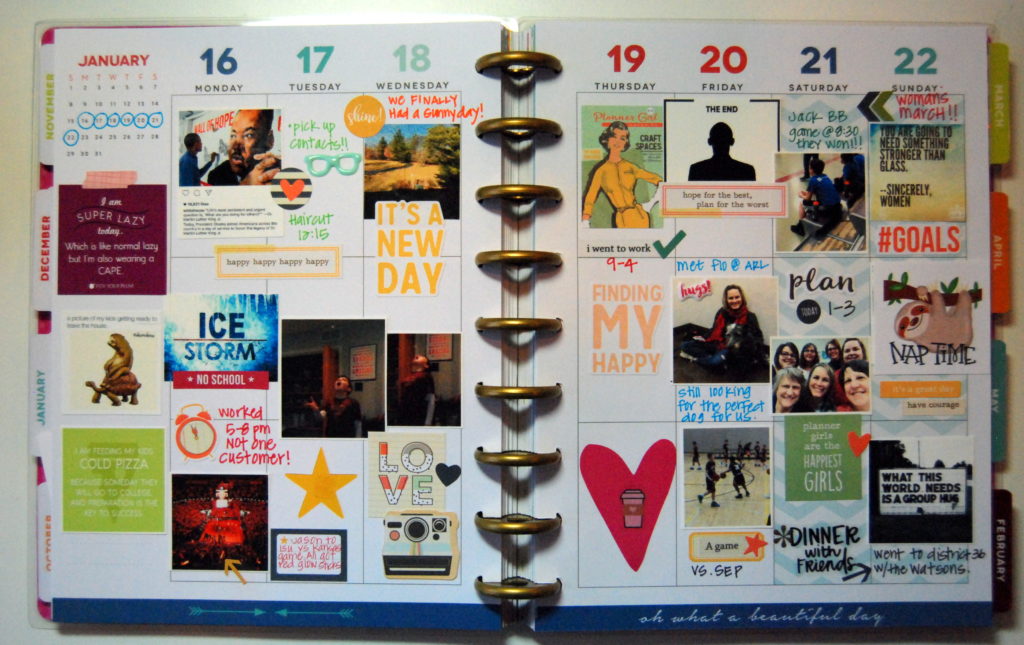
DSC_0022

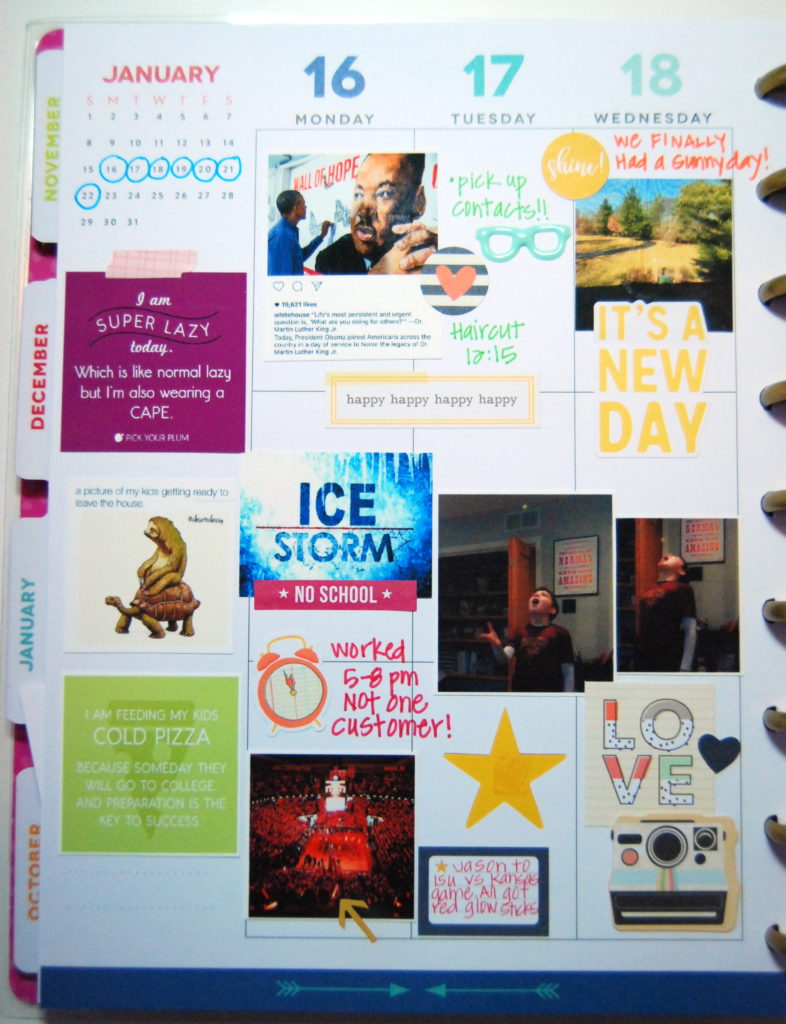
Here is a closer look at my days. I love quotes and take screen shots of many on Instagram, but never go them off of my phone. Now, each week I print them off and have been adding them to the left margin. For the daily layout, I place information that happens in the morning in the first square, afternoon happenings in the middle square and evening things in the last square. Does that always work…no. DSC_0023 DSC_0024
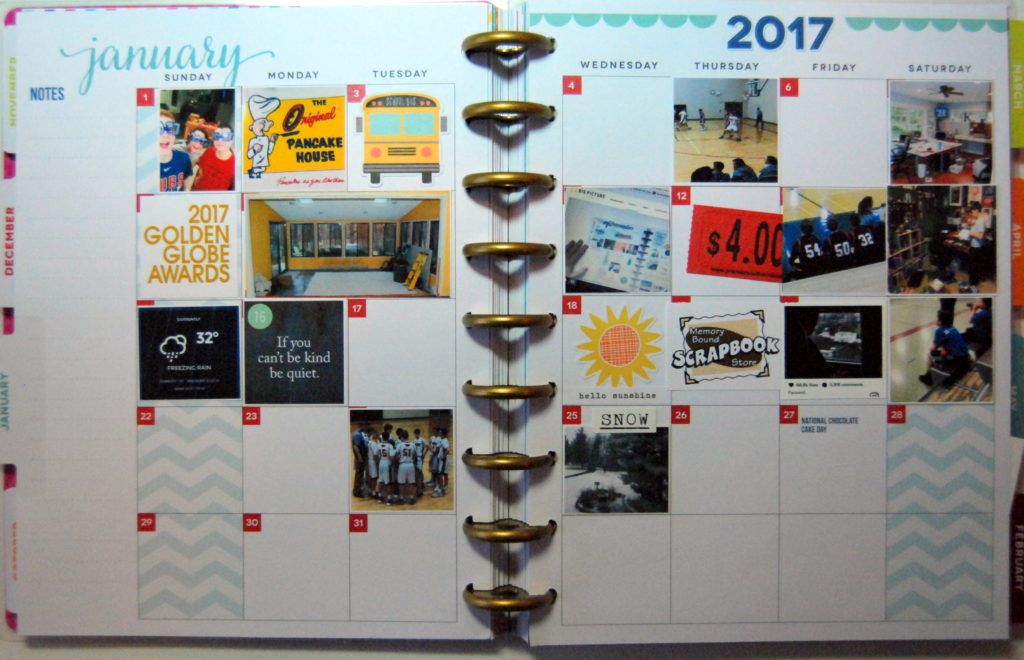
I am still playing around with the monthly layout. At this time, I have used pictures of events as more of an overview.  But, I find myself wanting to use the same pictures for my weekly spreads So, I will continue to work  with this concept.
DSC_0025

S

DSC_0027

How do I keep track of what is happening through the week? I happened across this blank calendar pack at The Container Store and couldn’t pass it up…paper pack and calendar?! Yes, please!
http://www.momagenda.com/nr/store/images/product/altImages/wfp-alt2_xlg.jpg

You will think I am crazy, but I fill this out for the week (and can’t help myself) but I decorate it too. This calendar goes on the fridge for the entire family to see and add to when needed~though that has yet to happen~anyone else putting something on the calendar. Some weeks I go all out with decorating, such as the week of Christmas.DSC_0033
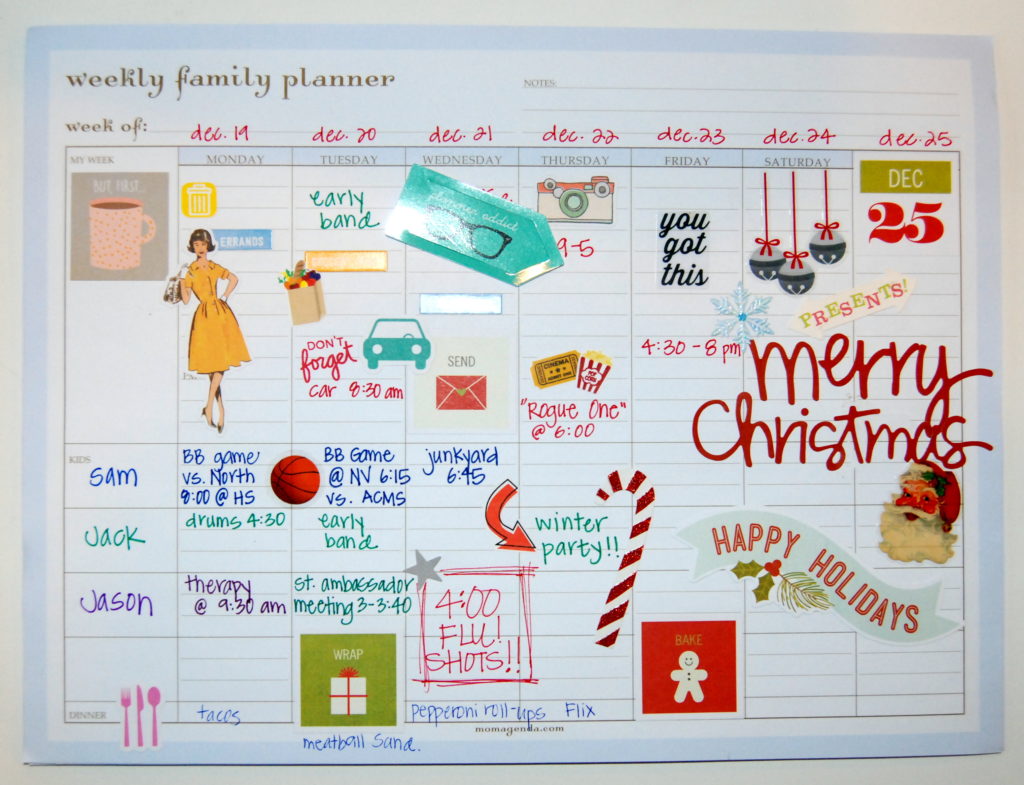
Other weeks, there’s not much going on or I have no decorating mojo.
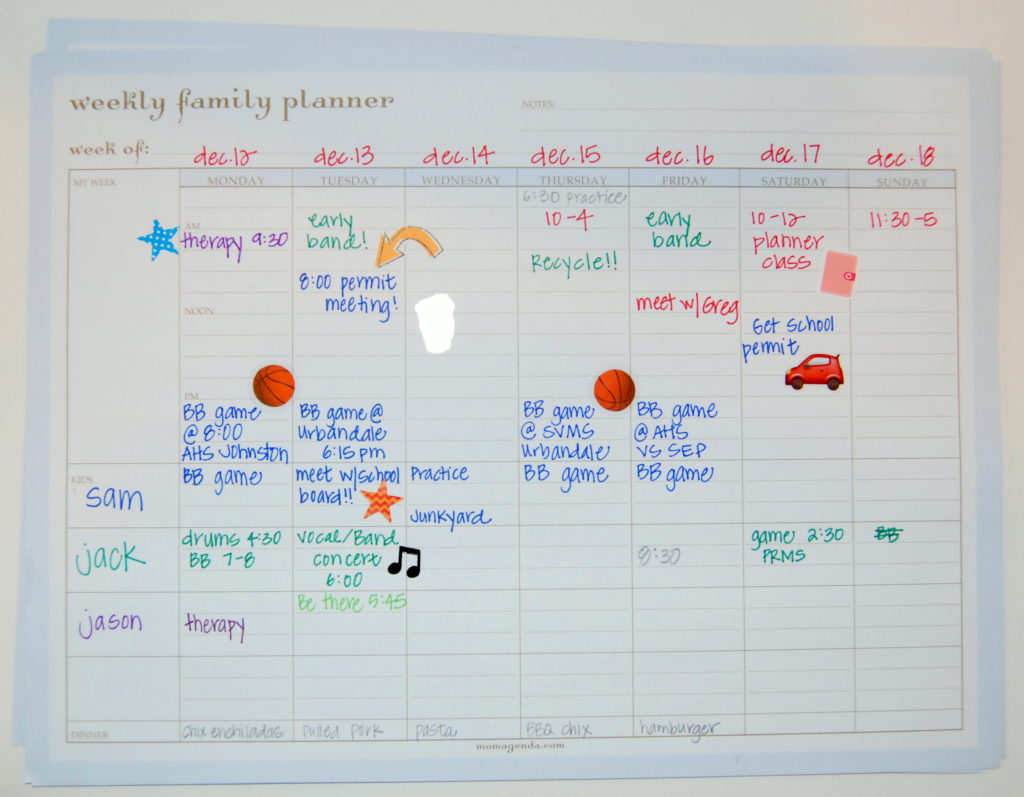
DSC_0034

As you can see, I add information/happenings to the calendar since it is right there handy on the fridge. In doing so, I can use this calendar to help plan out my Happy Planner pages. I also keep this calendar pages (imagine that) I think it would be fun to look back on them someday…
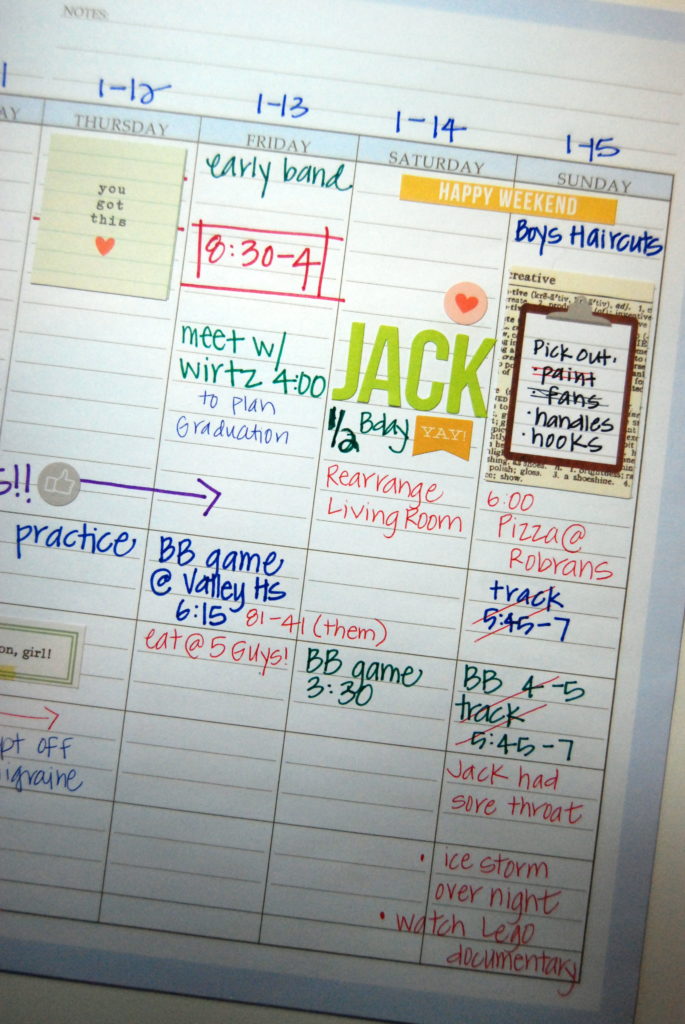
DSC_0036

Overall, I really enjoy this process and look forward to a little “scrapbooking” every week. Also, it doesn’t take too long, which I need at this time of my life. I think it will be even quicker once I get a routine set. And amazingly, I two of the three weeks in January done. In my book that is considered caught up! The planner piece and calendar piece may seem redundant to some, but so far it works for me and I really think that is what it is all about. Finding something that works for you!  looking forward to sharing more COMPLETED weeks with all of you!
 

January Wrap Up

Hello!
For my January planner class the gals enjoy always enjoy a “Month in Review” sheet where they can place pictures, doodles, notes, memorabilia or anything that they would like. I like an end of the month review and looking back at what took place in our lives and around the world.

This is the sheet that I created for my planner gals. It measures 8.5 x 6 and can be punched to keep in their planners.
DSC_0150

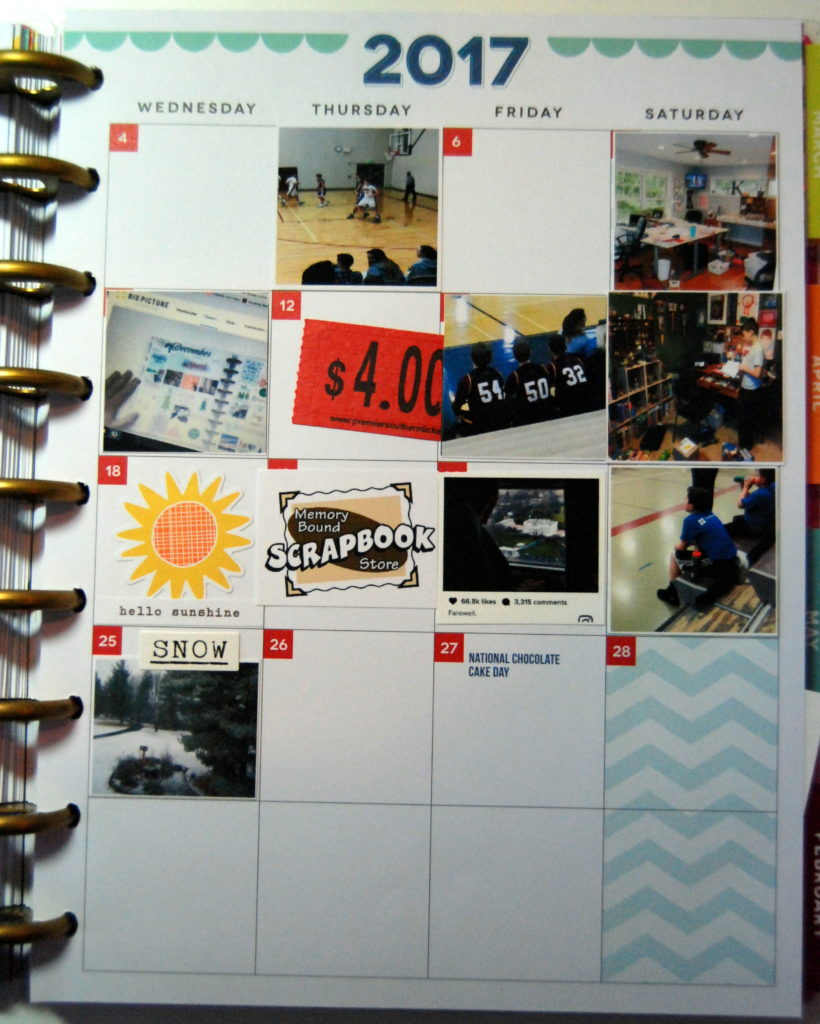
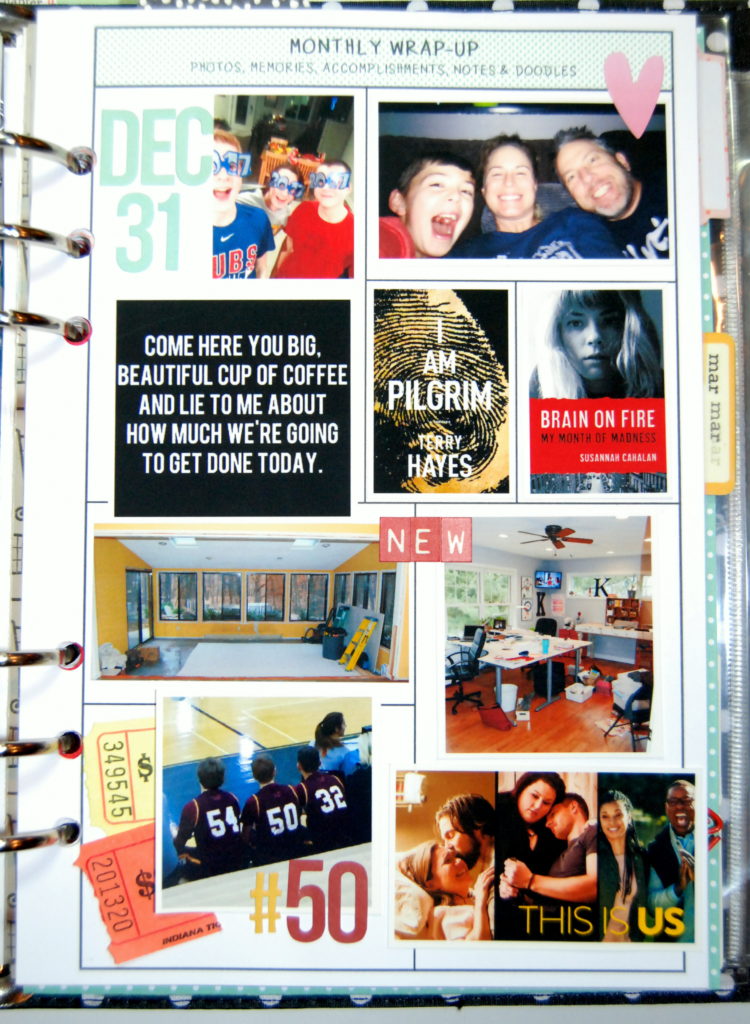
Here is my completed wrap-up for the first two weeks in January! As you can see, I used all pictures and stickers. I just resized the pictures, to fit the squares, on a word document.
DSC_0015

 I really enjoyed the process of this! I included a picture of Sam with his friends on New Year’s Eve and one of the three of us at home! I printed off the pictures of the two book I had finished and my new favorite TV show. We started to remodel our sun room and I cleaned up and rearranged my craft room! At least 3 of our 5 week nights are spent at basketball games, so I thought it’d be appropriate to include a picture of Sam at his game and a couple of our tickets. Quick, easy and done!! That is the best part…I have a mini-scrapbook page of the first two week in January! Yippie!

Check back tomorrow…I am going to share how I am memory keeping in my Happy Planner!!